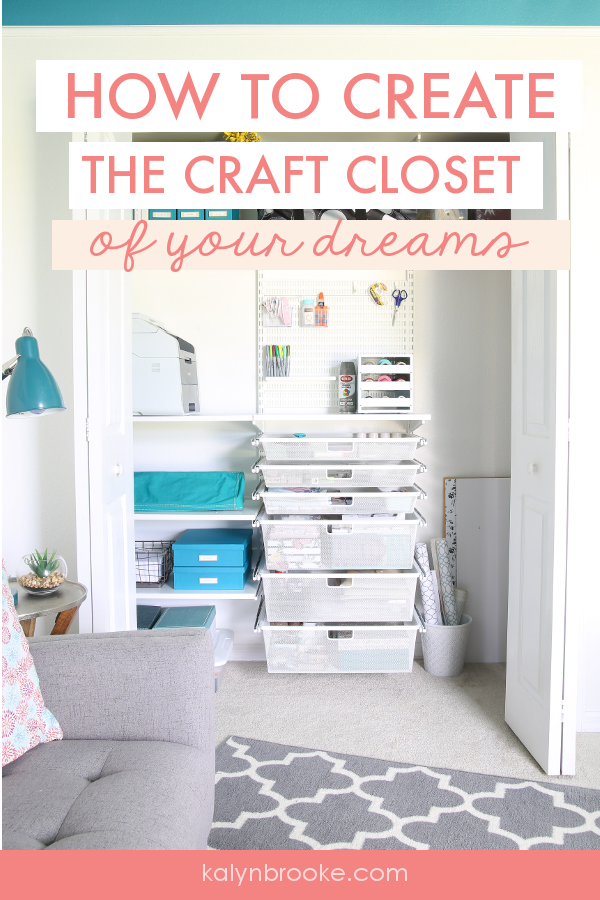
How to Create the Craft Closet Of Your Dreams

As I brought down the last of the cardboard boxes, a friend who was helping us move from NY to FL read the label written in black Sharpie.
“More craft supplies?!” she said. “You have more hobbies than anyone I’ve ever seen!”
She’s not wrong.
We had already packed up my cake decorating supplies, knitting needles and yarn, flower arranging tools, and multiple scrapbook and card-making paraphernalia, and now I was holding a small box of fabric and sewing notions.

I may have a problem, but the even bigger problem?
My craft supply collection had almost no organization … and it stayed that way for years after that move from NY to FL! In fact, everything lived (or should I say, was stuffed!) inside my office closet in our new home—forgotten while I focused on building this blog.
Although, if I’m being really honest, my inaction was also rooted in perfectionism. I was so overwhelmed with the mess, I didn’t know how to go from what looked like the Hobby Lobby clearance center to a Pinterest-perfect image.
So I didn’t do anything.
But last year, I really wanted to rediscover my creative self again and I couldn’t do that without some semblance of organization. I still wanted everything to look neat and tidy (who doesn’t?!), but the difference was in the way I approached it—creating a craft closet that would work for me, not just for a pretty picture.
But first, I had to deal with this …
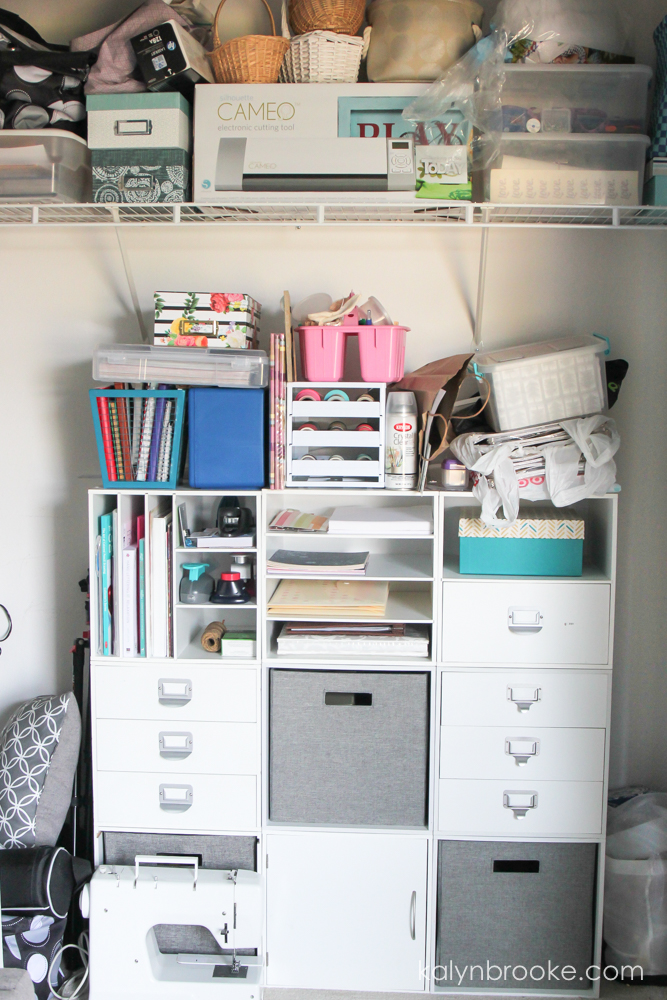
Ugh, this photo makes want to run away and ignore everything again!
But thankfully, I didn’t procrastinate for another three years. Once I took my first step, everything else fell into place.
I’m going to share my step-by-step plan with you here just in case you want to accomplish your own craft supply revamp (whether it’s a closet, corner or cart!) and want to do it without being overwhelmed.
Because yes, it is possible!
1. Determine Why You Need Craft Closet Organization
The first thing I did was ask myself, “What do I want this craft closet to contain?” and “How will I use it?”
In other words, I cast a vision and determined the purpose for my craft closet.
Since this closet was fairly big, I had other plans for it too—like adding a gift-giving station and making sure my beast of a printer would fit inside and didn’t detract from my newly decorated home office!

When undertaking a similar project of your own, you may also want to think about which items you want to be most accessible. This will come into play a little later, but it helps to have an idea of what supplies you’ll reach for first.
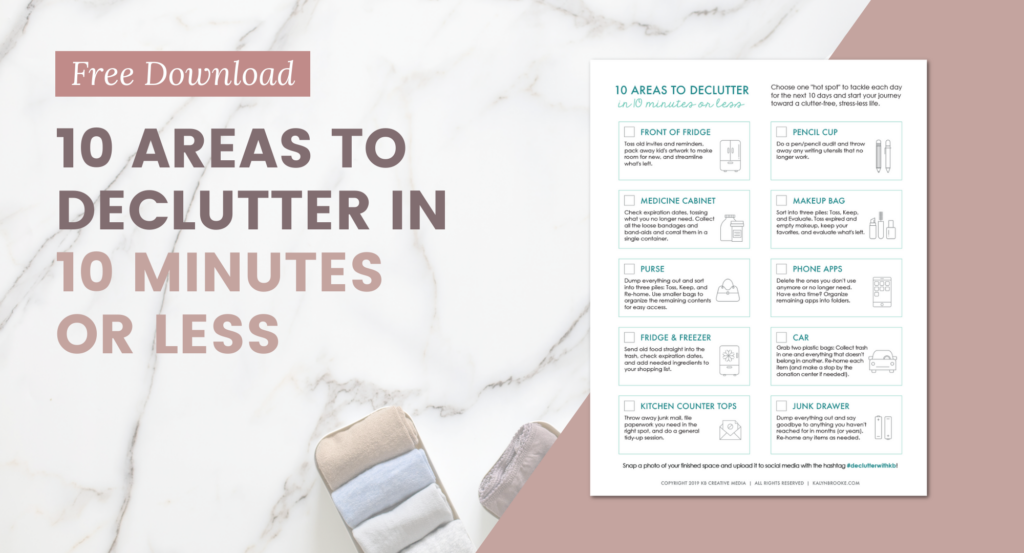
2. Declutter All the Things
Ahh, you knew this was coming, didn’t you?
Before we organize, we have to get rid of what doesn’t belong and what you don’t need. Otherwise, we’re just organizing clutter. So pretty please don’t skip this step.
Just think of how good it will feel to finally have extra space for the supplies you love and use on a regular basis!
Pro Tip: Do a quick once-over with a trash bag in one hand and a donate box nearby. Painless!
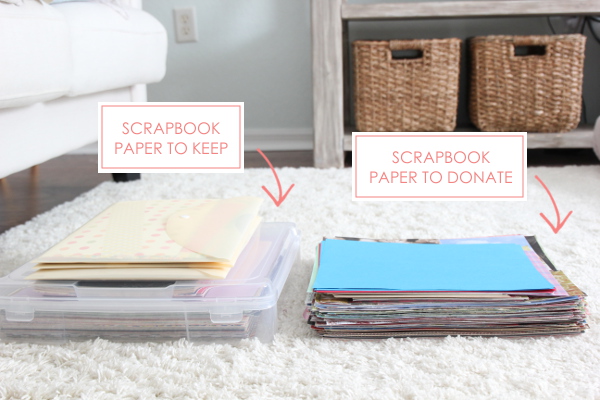
After removing what I knew right away wouldn’t be staying, I combed through my supplies more carefully, not necessarily giving it the “spark joy” test, but asking myself if this item truly had a purpose, when did I last use it, do I even like it, etc.
I got rid of so much junk this way and it helped to keep my long-term vision from Step 1 in mind.
3. Make a list of categories and research ideas
With all the supplies you have left, compile like things together and write down a list of all categories and types of supplies. Then research organization ideas for each one of them.
My categories were:
- Scrapbook Paper
- Stamps and Ink Pads
- Stickers
- Sewing Supplies
- Knitting Yarn and Needles
- Fake Flowers
- Cross-Stitch Books and Supplies
- Gift Giving Supplies
- Photo Props
- Odds and Ends
I created a secret craft closet organization Pinterest board to keep track of all my ideas in one place. I shared a lot of my findings in a curated blog post called Genius Ways to Organize Your Craft Supplies, so that should help you with some of the legwork!
And while I didn’t use every idea I came across, it helped my brain jumpstart the creative process.
4. Map out a detailed plan
Next, it’s time to dig into the nitty gritty of HOW best to organize everything according to function and design.
For instance, it made sense to store things I don’t need access to as easily on the top shelf of the closet—like knitting, flower arranging supplies, and cross-stitch books. Bins and baskets worked well for corralling these lesser-used things.
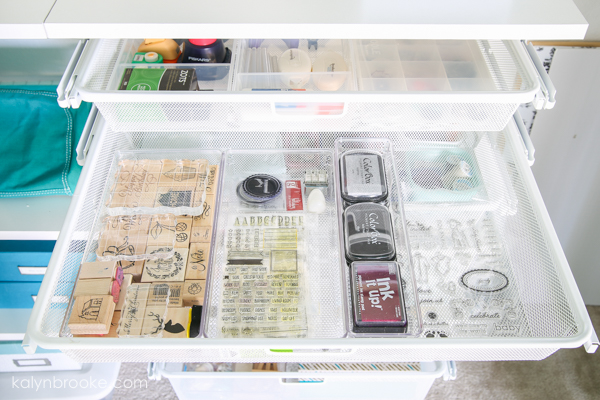
I also wanted to see all my stamps in one glance, rather than thrown in a box like they were before. So I organized them in a drawer inside a shallow container that guaranteed visibility.
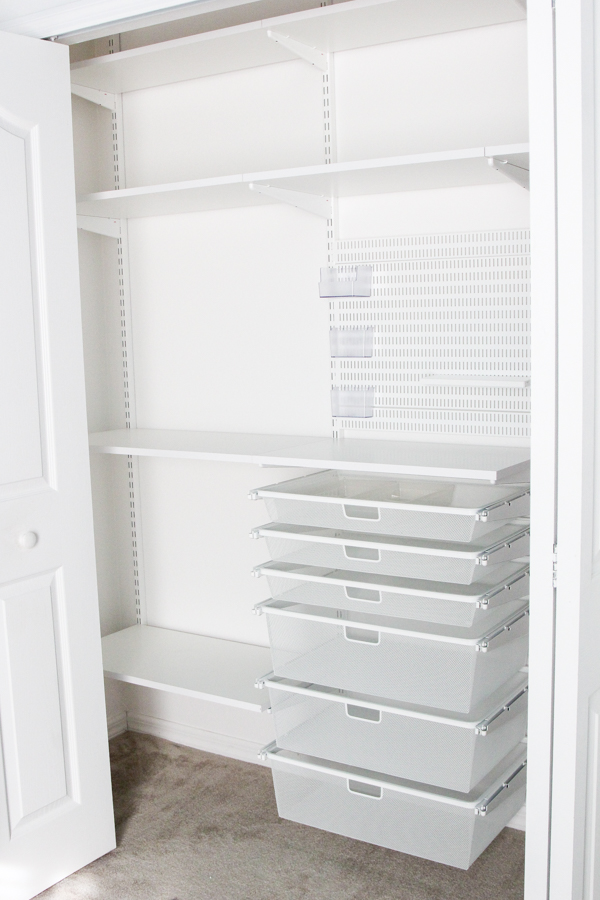
I went over this process with each of my supplies and quickly realized a track organization system would fit my needs perfectly. With a track system, you can move shelves in and out of slots, adjust heights as needed, and swap out shelves for drawers and vice versa.
I used the Elfa system from The Container Store and I couldn’t be happier! (Although I love how Abby used this Ikea Algot system!)
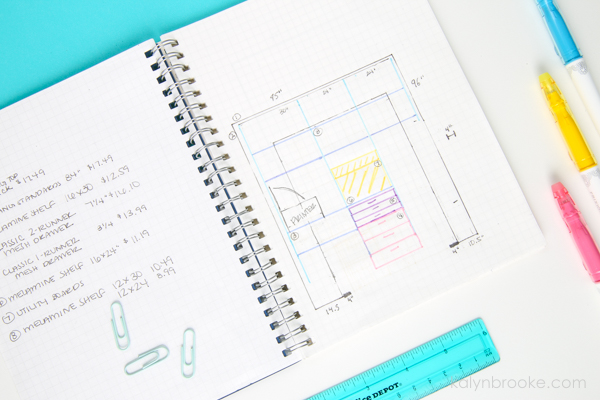
But first, I sketched out everything on graph paper, just so I could see how it would look without committing to anything permanent. Then, once I had everything drawn out (and color coded!), I took this sketch to The Container Store to order everything I needed.
Overwhelmed by this stage of organizing craft supplies? Don’t worry; it’s not mandatory. And even though I had put in this prep, I still had to …
5. Arrange and Rearrange
While I was hopeful that I would get everything perfect on the first try, the truth is, I spent a few weeks arranging and rearranging my setup.
Which makes sense, really. You have to actually use the space to know what will work best! For this reason, I held off on purchasing most of my craft storage containers until I was positive *this* was the final setup (and even then I kept my receipts for a few weeks, just in case!).
I would encourage you to do the same. You don’t want to waste money buying craft storage containers you don’t actually need and can’t return.
shop this post:
[show_shopthepost_widget id=”3525793″]
And now…the Final Reveal!
I’ve been teasing you with little glimpses of the closet here and there and now it’s time to share the whole space. Eek!

What do you think?
Nothing makes me happier than a closet dedicated to fuel the creative spirt, especially when it’s filled with supplies I actually like and plan to use!
Stick around and I’ll give you a deeper look into how everything is organized.
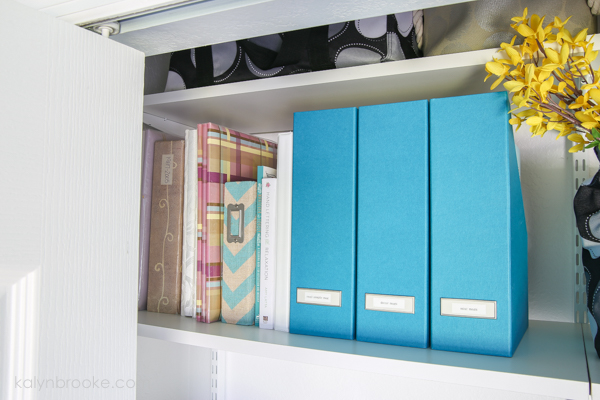
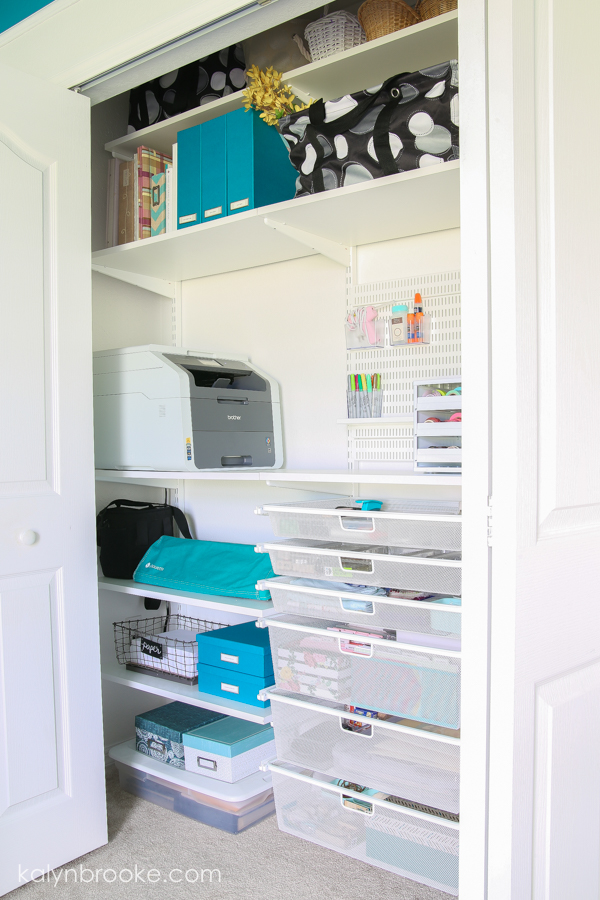
- On the tippy top shelf (you almost can’t see it!) I stored extra wicker baskets as well as boxes of other supplies I didn’t need to access all that much. My yarn and knitting needles are neatly contained inside one of the white and black polka dot bags.
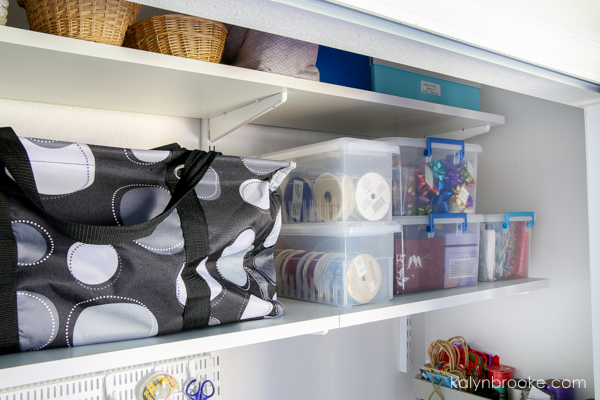
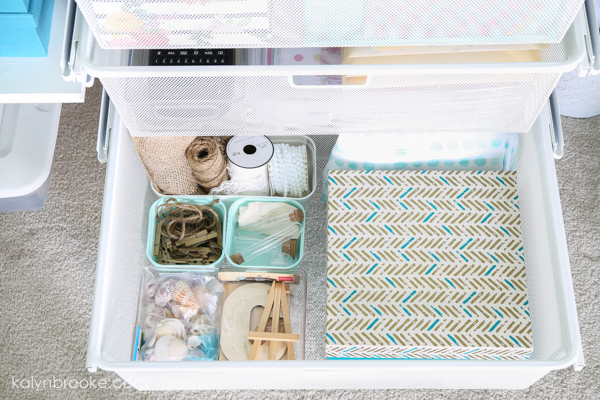
- Right below, I used some fun ribbon organizers (I had no idea they made these!) as well as some clear bins to store bows, tiny gift boxes, and tissue paper.
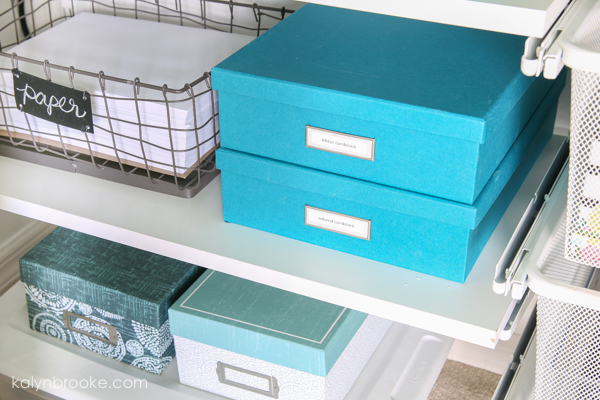
- On that same shelf, I lined up my old scrapbooks and stored my favorite magazines inside three file boxes. Don’t you just love that teal color? It’s my fave.
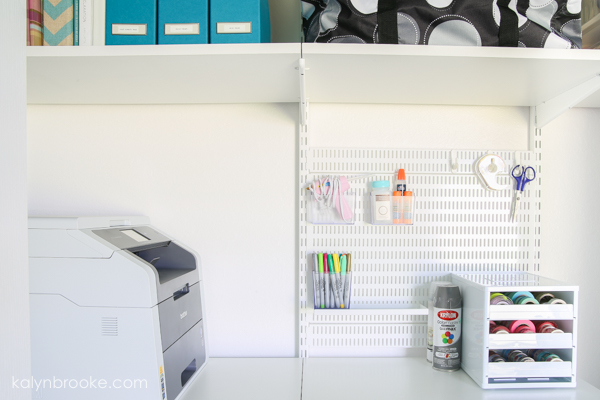
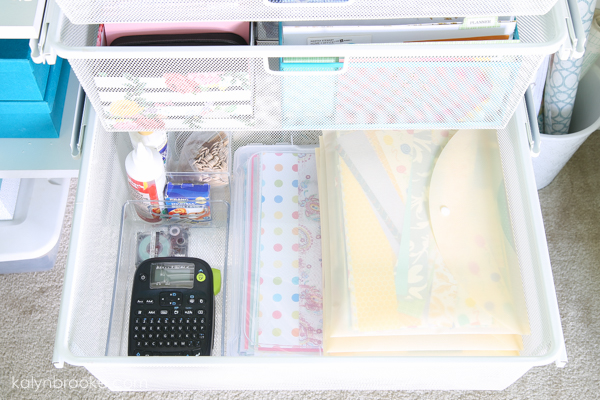
- The utility board holds various glue alternatives, as well as tape, scissors and Sharpie markers. Then of course, I had to get something to organize all my washi tape rolls! This CraftStack box turned out to be just the thing.
- Moving right onto the drawers, the top one holds all my punches, more sticky tape, and buttons, separated by inexpensive drawer organizers.

- The second drawer holds all my stamps and ink pads.
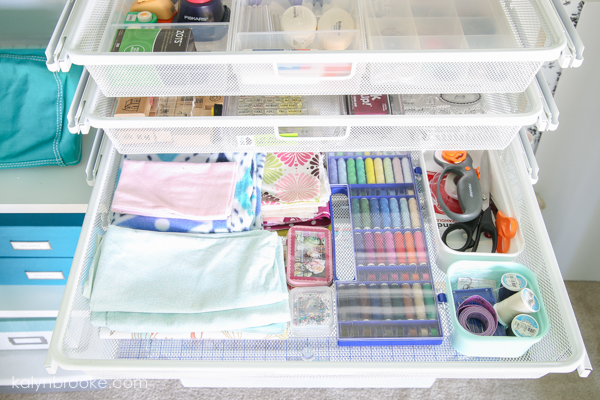
- The third drawer holds my fabric stash and other sewing supplies.
- The next two drawers hold all my scrapbook paper, card making supplies, and stickers, as well as cards I’ve already made organized by occasion.
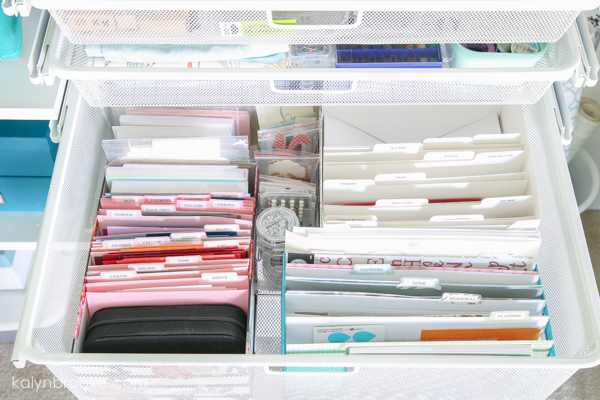
- And of course, my trusty label maker has it’s own prominent spot!
- The last drawer holds quite a few miscellany items. Basically anything that I didn’t have a spot for elsewhere!
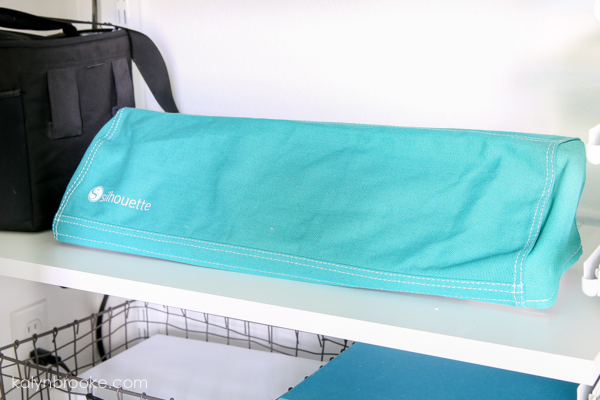
- Moving onto the shelves just to the left of the drawers, I pulled my Silhouette out from it’s box so I would use it more often…and I did!
- On the bottom shelf (and underneath), I stored all my printer paper and fully sized card stock, as well as more photo boxes. Someday I’ll organize them into photo albums.
I don’t have any detailed photos of my Gift Wrapping station, but that’s because I wrote a whole blog post about that section of my closet. You can check it out HERE.

After all was said and done, I was so pleased with the results. It was SO much easier to find things I needed, and I found myself motivated to be creative! I was pulling out supplies to use them more often because I could easily see where things were.

Of course, the only downside is a few months later, we decided to list our house in order to travel in an RV year round. 🤦♀️
BUT…
Even though we didn’t take all of my craft supplies with us, the track system allows us to set up and rearrange everything to fit whatever space we have in the future, so I’m really glad we invested in that! It’s all about what works for you in the season you’re in!
Let’s Chat:
Do you have a craft closet or corner? What is your favorite hobby that requires craft supplies…or are you a hoarder like me?
Disclosure: Some of the links in the post above are affiliate links. This means if you click on the link and purchase the item, I will receive an affiliate commission. Regardless, I only recommend products or services I use personally and believe will add value to my readers. Read my full disclosure policy here.