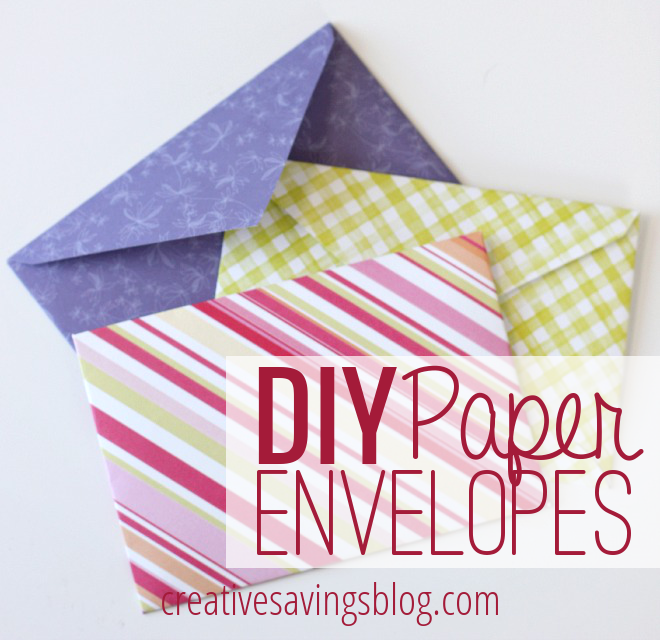
DIY Paper Envelopes
This post may contain affiliate links. Read my full disclosure policy here.
It all started when I decided to undergo a small organizing project – the card stash.
I grabbed my recently purchased card organizer box, and sorted the bits and pieces of notecards that had become disorganized from years of flipping through to find just the right one. But soon before I finished, I found myself in a bit of a conundrum.
I had one purple Thank You card left over, and one blue envelope to match it. It was a set I’d purchased long ago, with an assortment of colors that matched card to envelope. I must have ruined or misplaced one extra purple envelope and one extra blue card for that something like that to happen!
Being the perfectionist that I am, I would not….could not pair a purple card with a blue envelope, and so I decided to forage through my massive stash of scrapbook paper to find just the perfect tone to match, and make my very own.
Supplies Needed:
- Scrapbook Paper
- Envelope to trace
- Thin cardboard
- Pencil
- Glue stick
- Scissors
The Project:
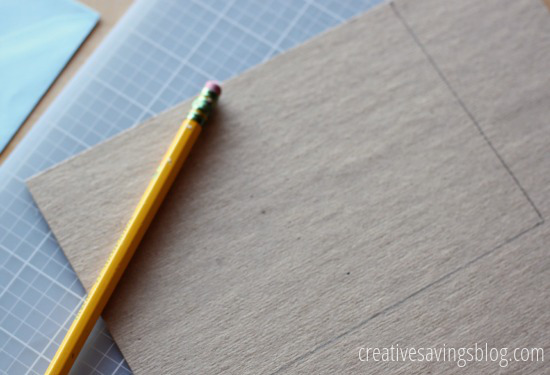
Step 1: Grab a piece of small cardboard {from the top of a shoebox or card paper pack}, and trace the outline of the size envelope you want to make. Then, cut out the cardboard piece and set aside.
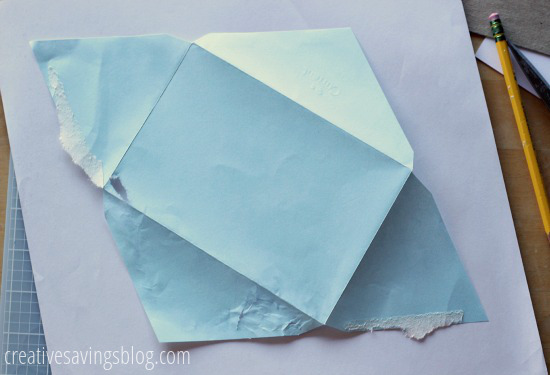
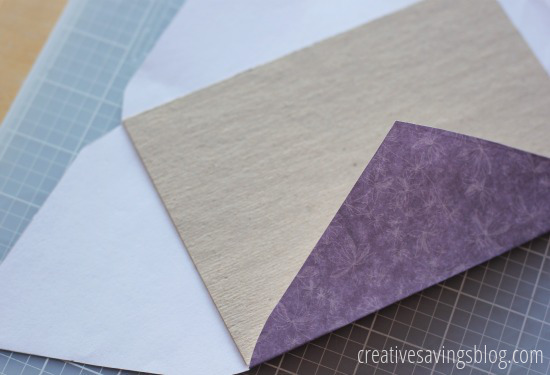
Step 2: Open up the envelope you want to copy as carefully as possible, and lay flat on your choice of scrapbook paper. {As you can see, I didn’t do very well at this part!} Trace the outline of the envelope onto the paper, then cut out.
Step 3: Place cardboard into the middle of the paper, and start folding up all sides, pressing firmly at the crease.
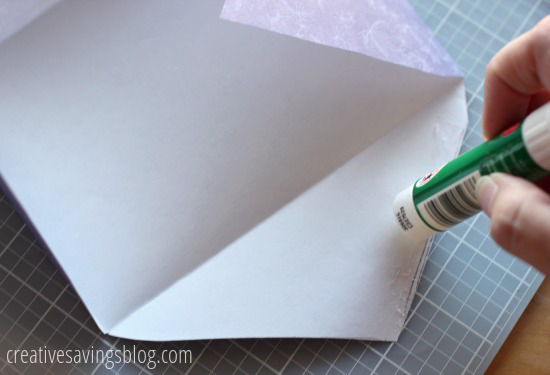
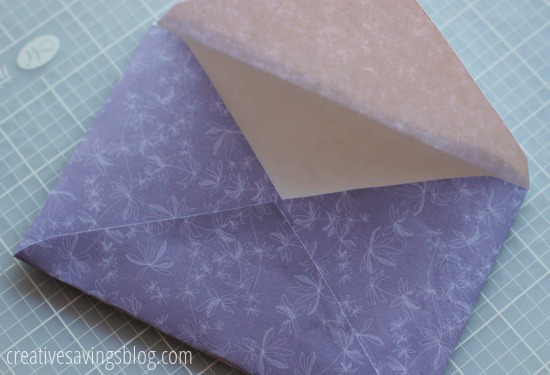
Step 4: Place glue on the very edges of the bottom flap, fold in sides, and then fold up the bottom last, making sure to “pop” the envelope open so any glue residue doesn’t stick to the inside.
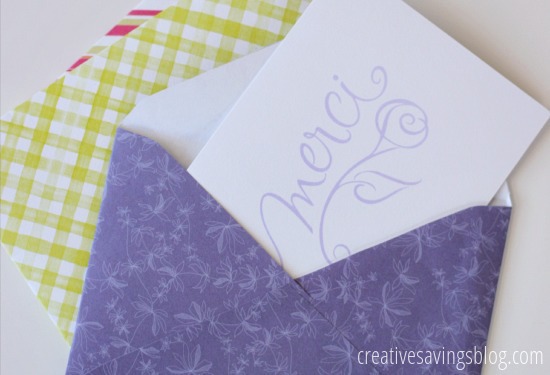
Step 5: Once you have your letter or notecard inside, glue or tape the top flap to seal. Add a plain address label to the front of the envelope to write the address, then stamp and send!
Now you have a pretty envelope to match your card, and both are guaranteed to brighten someone’s day!
Total Cost: Free {since I already had all the supplies}
Of course, now I’m seriously addicted to these pretty DIY paper envelopes, and wondered how I ever survived on plain white. And since I have such a huge scrapbook paper stash, I can make a whole bunch!
I’d say we just made the inside of our mailboxes a little bit cuter.
Have you ever tried making your own envelopes?
Disclosure: Some of the links in the post above are affiliate links. This means if you click on the link and purchase the item, I will receive an affiliate commission. Regardless, I only recommend products or services I use personally and believe will add value to my readers. Read my full disclosure policy here.



Oh I love the book page idea! It would need to be a book I didn’t enjoy though. 😉
I also make envelopes out of magazine pages with fun or pretty pictures. And wrapping paper, maps, grocery bags, and old book pages work great too!
Offering an envelope with a handmade touch is a great idea for your shop!
woooow ,,, i like it ,,, nice tutorial 🙂
OMG! This is great! I did some Monster High Invites for my daughter and needed envelopes. I will finally use the some scrapbook paper I have, which will make my Husband very HAPPY!
Oohh, they would definitely look amazing with custom envelopes!
Love it! Simple and it has a personal touch.. 🙂
There are sooo many times that I get all crafty happy and make cards only to remember that I don’t have envelopes to fit them. This is a great topic and I appreciate the how-to pictures!
It’s really easy too!
I also use the Stampin Up template for making my own envelopes, but your way is certainly FREE if you don’t already have the template. I also like using a letter opener or the back of a butter knife to make each fold really sharp and crisp!
Love the envelopes. It sort of makes you want to send cards, right? I used to always make homemade envelopes for my Christmas cards. I felt like homemade Christmas cards deserved homemade envelopes. I ironed freezer paper onto pretty wrapping paper and cut. So pretty!
I love the ironed freezer paper idea!
You should try the Stampin’ Up! Envelope Punch board! 🙂 It’s sooo easy & quick, and has the dimensions for many sizes of envelopes already on the board.
This is a fabulous idea! I make my own cards, and it would so fun to have coordinating envelopes! Can’t believe I’ve never tried it before…
It makes them so much prettier!