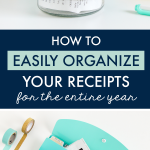
How to Easily Organize Your Receipts for the Entire Year
This post may contain affiliate links. Read my full disclosure policy here.
They’re EVERYWHERE.
Crinkled in the bottom of my purse, wadded up in Joseph’s pockets, ribbons of long, flimsy paper—usually from CVS—strewn across the countertops, and {oops!} sometimes left in a wadded up grocery bag that was tossed away.
In a way, receipts are essential, because they are a physical record of our spending. And if you’re a savvy budgeter, you’ll want to keep track of every receipt so you don’t spend more than you earn. But they’re also a huge paper-clutter pain.
Before my receipt organization system, this is how I organized my receipts:
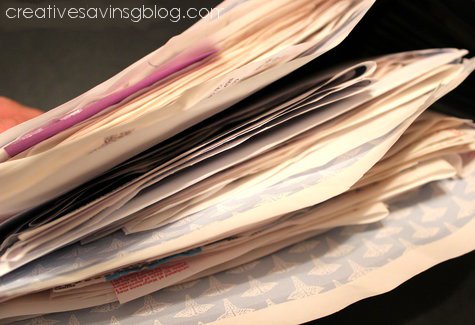
Using labeled junk envelopes, this “system” was certainly cheap enough. But ugly too. It wasn’t really a system because it consisted of one step: file receipt in an envelope when finished. Not. That. Organized.
Now, in my new and improved receipt organization system, every {and I do mean every!} receipt goes through a 3-step process that ensures I keep every receipt neat and tidy in case of future returns and in preparation for tax time.
If you adopt and customize these three steps in your home, you’ll be able to find any receipt you need easily!
1. Establish a Holding Station for Receipts
To eliminate wads of receipts strewn everywhere, designate a Receipt Jar where everyone can put receipts the minute they walk in the door. I bought this cute little jar at Hobby Lobby, but you could also pick up any clear jar and add a chalkboard label yourself.
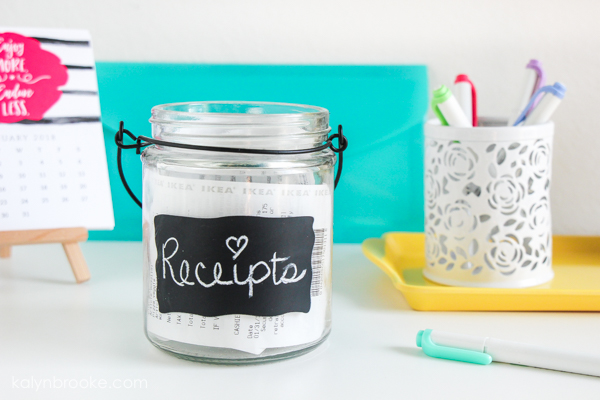
My decluttering/organizing motto is every item should have a place. Generally, if papers are piling up on the counter, it’s because you don’t know where to put them. So, find a spot, and see just how easy things are to put away!
2. Process Receipts Each Week
Whether you use a budgeting app, an excel spreadsheet, or old-fashioned pen and paper, it’s a good idea to set aside at least 30 minutes on the same day each week to go through the receipts you collected, record, and categorize them.
For me, this happens every Friday.
I pull out all the receipts from the Receipt Jar, and I add them to my expense spreadsheet under the proper category. If it’s a grocery or gas receipt—generally something I won’t need to reference later—I just throw the receipt away. {After checking Ibotta, of course! Haven’t heard of Ibotta? Check out my Ibotta app review.}
For all remaining receipts, I file them away in their proper place. More on that next…
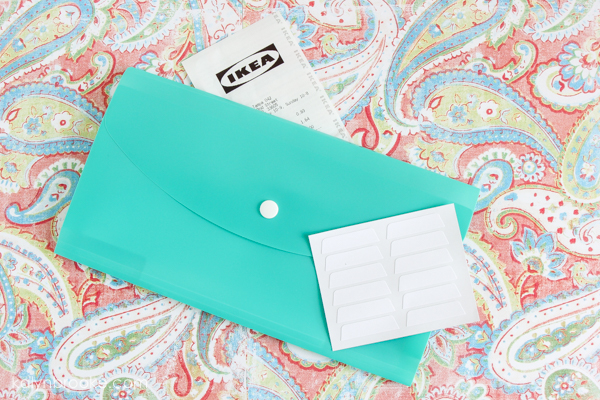
3. Create a Filing System
I generally see three types of receipts come into our household—personal, business, and charity. Each of those three categories has a different filing system.
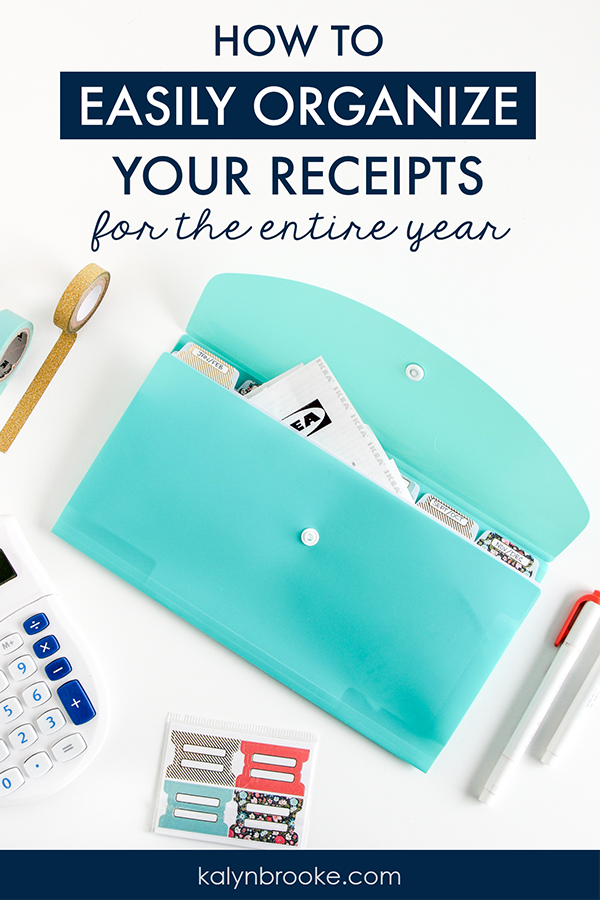
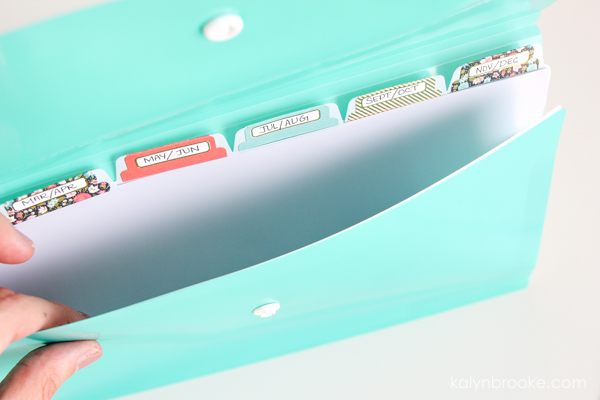
For personal receipts, I use a small expandable file {I found mine at Office Depot for $2!} organized by month. I don’t keep that many receipts, so it’s nice to have something that’s isn’t bulky, as well as long enough for receipts to fit in nicely rather than folded three to four times.
At the beginning of each new month, I remove last year’s receipts and throw them away because I know I won’t be able to return whatever item was on the receipt I saved from a year ago.
If you don’t want to organize your receipts by month, you could try one of these options:
- Organize by category of expense {this could get tricky if you shop at Target and have clothing purchases mixed in with your groceries}
- Organize by type of payment—debit, credit, cash, check
FYI: I saw these cute file labels on clearance at Michaels for $1 and couldn’t resist grabbing them for this project! You can also create your own labels via a label maker and add a strip of washi tape behind them for extra color.
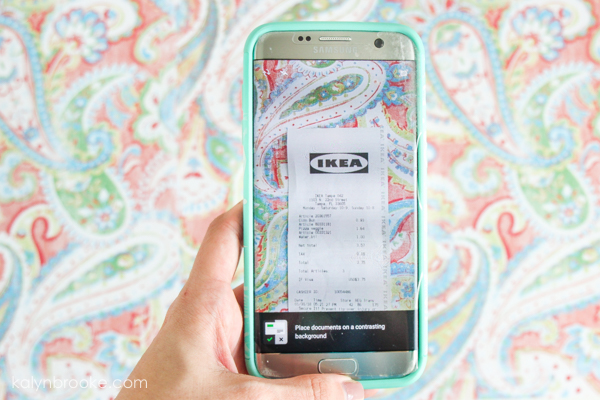
For business receipts, I’ll snap a photo with the Evernote app {which scans the receipt into a specific folder} so my bookkeeper—AKA my mom— can put the information in the appropriate Quickbooks account. Then I trash the receipt since I already have a digital copy.
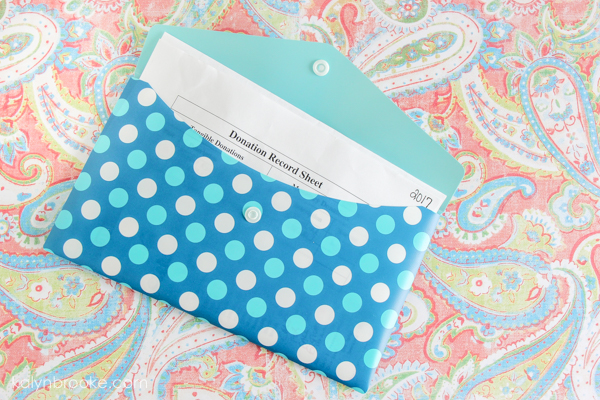
For charity receipts, items I’ve donated to Goodwill or things I’ve bought for the animal rescue I work with, I have a designated envelope with a printable that explains what the item was for and how much I spent/donated. That way, I can total the amounts up at the end of the year and give that info to my CPA for our tax return.
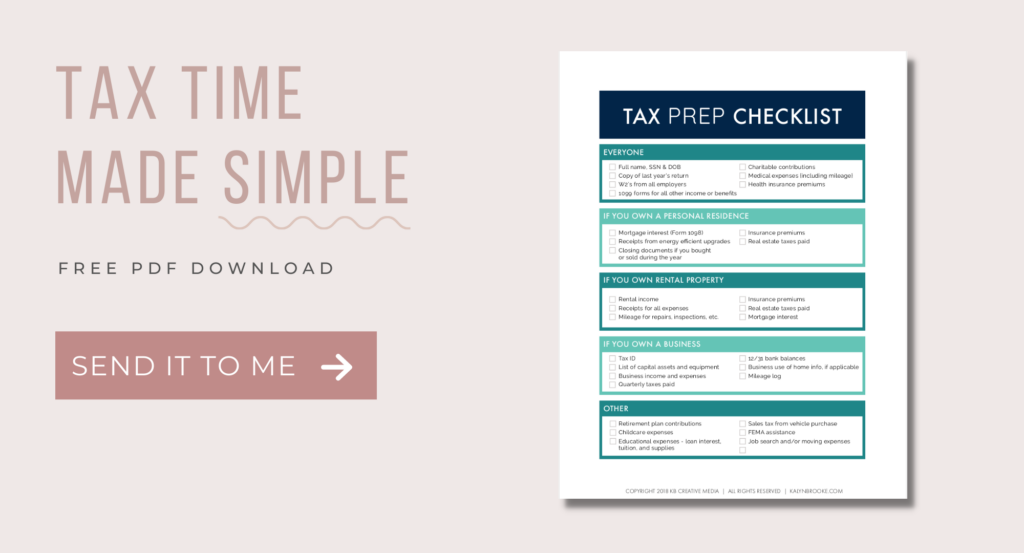
Psst… download The Ultimate Tax Prep Checklist so you know what other documents to keep handy!
Note: For any receipts that come through via email {for Amazon, etc}, I record those the same as I would a regular receipt each Friday on my expense spreadsheet, then I archive it. I don’t bother printing out the email because if I need to reference the purchase, I can quickly search Gmail to find it.
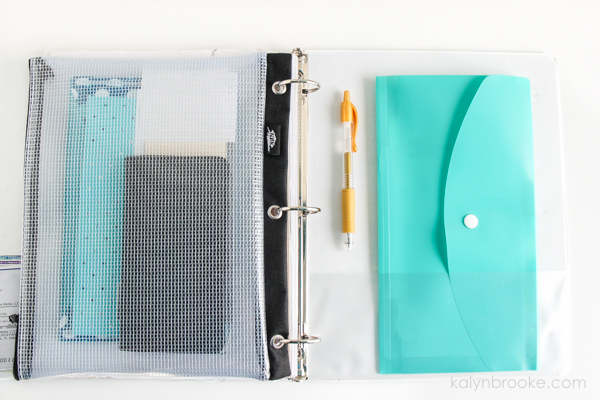
Lastly, all file folders are kept right inside my finance notebook so I have everything I need for those Friday finance meetings. It’s so handy to have it all in one place!
There are plenty of different ways to organize receipts—this is just a peek into my three-step system—but I hope you’ve found it helpful as you figure out what to do with your own paper pile. For me, this has been a clutter-saving sanity saver!
No longer do I have receipts wandering aimlessly across the countertops. Now I know exactly how to process a receipt from start to finish without hanging onto a bunch of unnecessary paperwork.
Plus, I can find what I need when I need it, instead of searching through my wallet or purse…or even worse, hope it hasn’t gone through the wash in somebody’s pocket. 🙂
Let’s chat about receipt organization:
Do you have a different system? What receipts do you save/toss?
Disclosure: Some of the links in the post above are affiliate links. This means if you click on the link and purchase the item, I will receive an affiliate commission. Rest assured, I only recommend products or services I use personally and believe will add value to my readers. Read my full disclosure policy here.
I have been reading and appreciate the information you are providing about receipts, budgeting, and tracking finances. I was wondering if you had any suggestions for tracking medical bills that have been paid by an insurance company and now you need to pay the remaining amount. Information that can be tracked with co-pays and deductibles. Thank you.
Hi Lilla,
That’s a really good idea. I don’t currently have a system in place for this beyond my current expense tracker. I do keep a column on my personal finances spreadsheet that keeps track of all my medical expenses, but it’s currently nothing more than a spreadsheet column. It does the trick though at giving me a record of each medical transaction.
For keeping track of deductibles I keep all my detailed bills filed because if I have to dispute anything I’ll need to have access to them anyway.
For me I would just take a photo of the receipts using my mobile phone and save it in a monthly expense folder.
That’s great!
Ooo! I love seeing other people’s systems…yours involves so many pretty items! (A MUST for things like receipts that can be otherwise boring.) I’ve been using the Expense Tracker app for my biz receipts. I enter each expense by category as it comes up, snap a photo of the digital or paper receipt, and discard paper receipts after that! Easy peasy.
One of the best things about about apps is how they can kill the paper clutter! Remembering to do it…
I liked the use of file manager. I think incorporating the use of filing system is so helpful to keep track of recipes and would save a lot of time and decent amount of money too.
Systems are the best! 🙂 It’s all about finding the perfect one for you!