How to Make DIY Divider Tabs
This post may contain affiliate links. Read my full disclosure policy here.
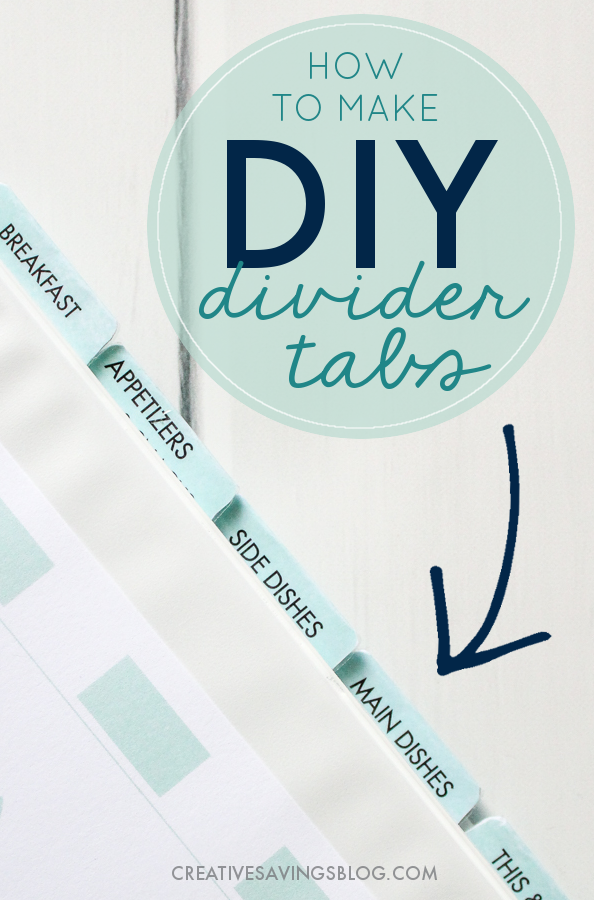
I recently put together a Recipe Binder to organize my massive collection of recipes. Wow, what a project! But the biggest hangup came when my next step was to add divider tabs to my pages.
You see—I wanted tabs that would coordinate with my Recipe Binder design AND be customizable with text {yes, I'm very particular}. And while I could find various printables tabs on Pinterest to customize myself, there wasn't a succinct tutorial on how to adhere those tabs to my pages.
Laminating the tabs made them too bulky, and simply attaching them to the page made them too flimsy. But after multiple experiments, I finally found something that worked!
Just for reference, I'll be using the printable Divider Tabs that come with my Recipe Binder for this tutorial, but you can go through these same steps for any tabs you print online.
Supplies Needed:
- Printable divider tabs
- Scissors
- Packing tape
- Double-sided tape
What binder was I working on with this project?
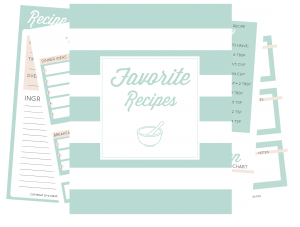
The Printable Recipe Binder Kit is a complete recipe organization system to help you declutter, categorize, organize, and meal plan, with just one tool.
The Project:
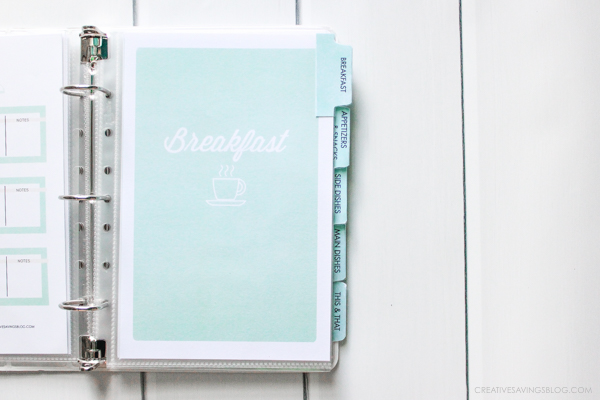
Step 1: Carefully cut out divider tabs, fold in half, and lay one side {color side down} onto a piece of packing tape.

Step 2: Fold over the packing tape.

Step 3: Cut excess tape away from the divider tab.

Step 4: Open up the divider tab and place one strip of double sided tape inside each of the rectangular “wings”.

Step 5: Place tab on front and back side of the page protector and press down.

And you're done!
Total Cost: I didn't have to buy anything new, so this project was free for me!
I'm obsessed at organizing my life with notebooks, so I'm thrilled to finally have a workable solution to my customizable {and coordinated} tabs. Oh, and if you're interested in learning more about the Recipe Binder I referenced during this tutorial, here's where you'll find all the details!
What project do you plan to use this tutorial for?
Disclosure: Some of the links in the post above are affiliate links. This means if you click on the link and purchase the item, I will receive an affiliate commission. Regardless, I only recommend products or services I use personally and believe will add value to my readers. Read my full disclosure policy here.