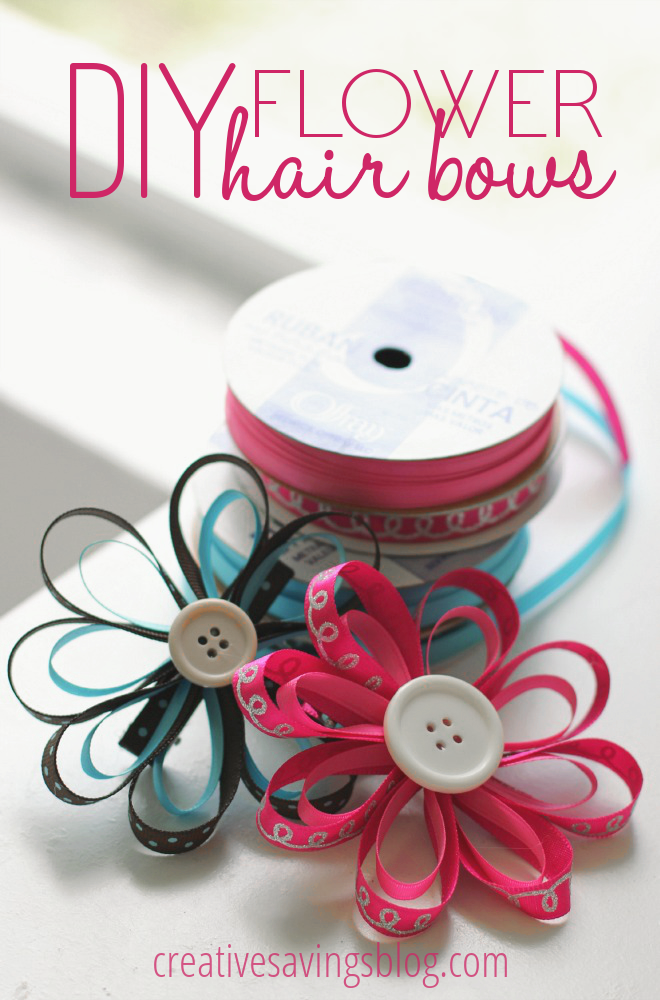
DIY Flower Hair Bows
This post may contain affiliate links. Read my full disclosure policy here.
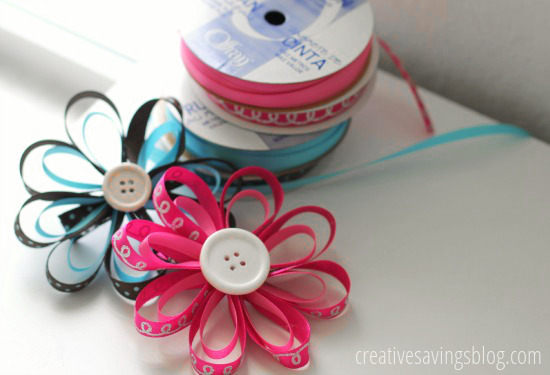
Cute little hair bows, flowers, and ribbons are seriously the thing right now for little girls. Everywhere you look a tiny baby has a big flowery band popped on top of her head, while bows of every shape and size adorn curly haired pre-schoolers.
Each Sunday at church, we’d sit behind a family with two precious girls who always had a different hair bow each week, and finally I could not resist asking the mom where she got them. You know what she told me? She made them all herself! And so I begged for a lesson so I could share how fun and easy these hair bows are. Plus, they cost pennies compared to what you can buy online at an overpriced Etsy shop.
The first flower might take a little bit of time, just to get the hang of how they come together, but after that, I could whip out one in 15-20 minutes flat. They make the perfect gift for your daughter, niece, or as mini birthday party favors for little guests!
Supplies Needed:
- 2 spools of ribbon in complementary patterns and colors
- Woodburner or lighter to seal ends
- Alligater clips
- Button
- Needle
- Thread
- Scissors
- Ruler
The Project:
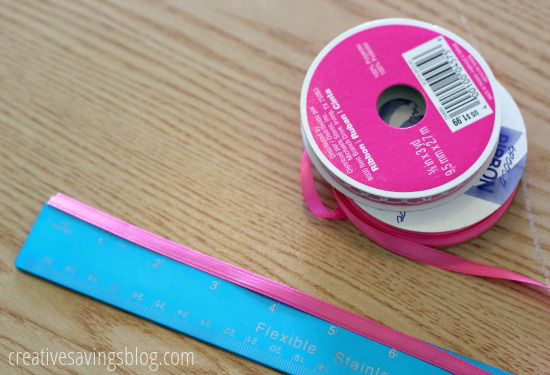
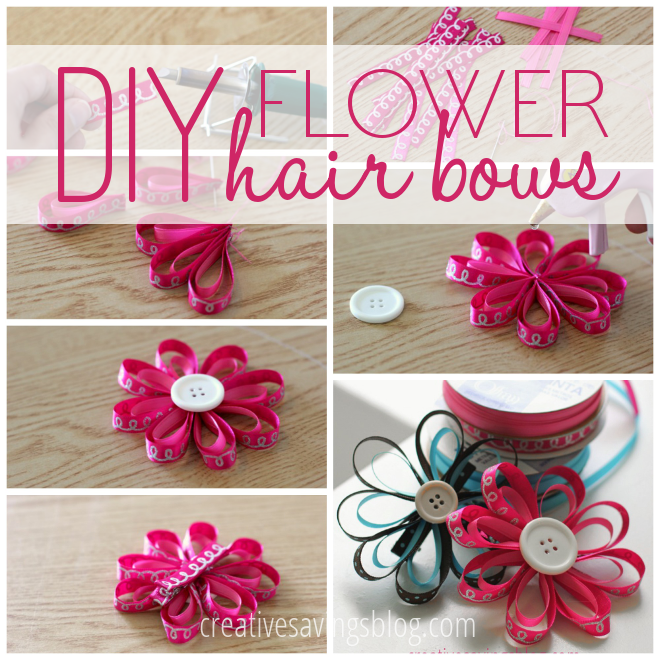
Step 1: Choose 2 coordinating ribbon patterns or colors, and cut EIGHT 3″ strips for the inside loop, and EIGHT 4″ strips for the outside loop.
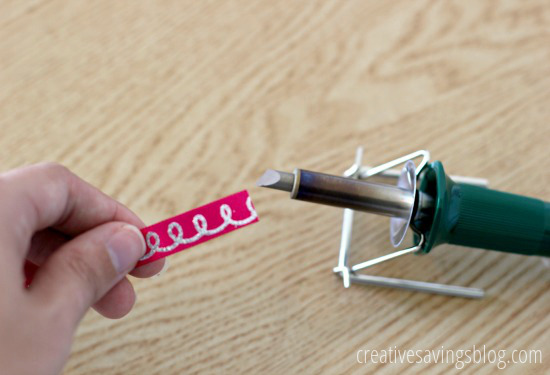
Step 2: Burn the ends to seal using a wood burner or lighter so ribbon doesn’t fray. If you use a wood burner, be very careful as these tools are super hot!
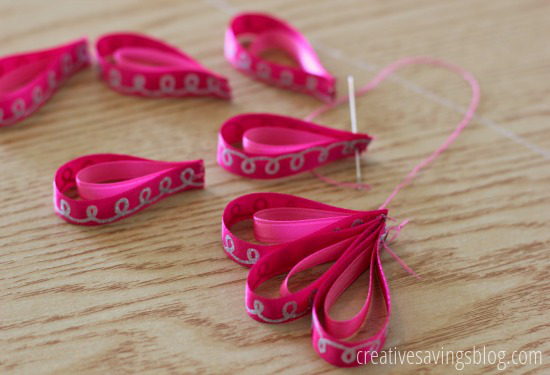
Step 3: Thread a sewing or embroidery needle with coordinating thread, and tie a knot in the end.
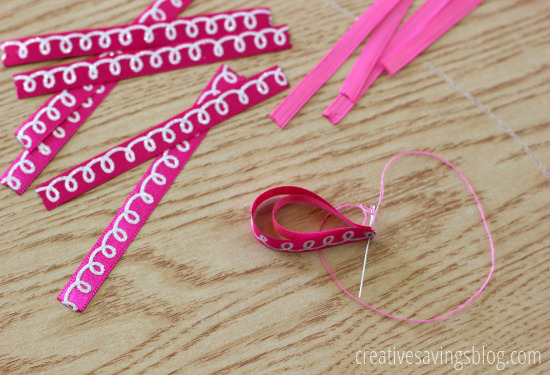
Step 4: Loop the 3″ cut ribbon inside the 4″ one, and sew ends together. I like to go back and forth about 4-5 times just to make sure it’s secure. Then tie a knot to keep from coming loose and cut your thread. Do this until you have eight loops.
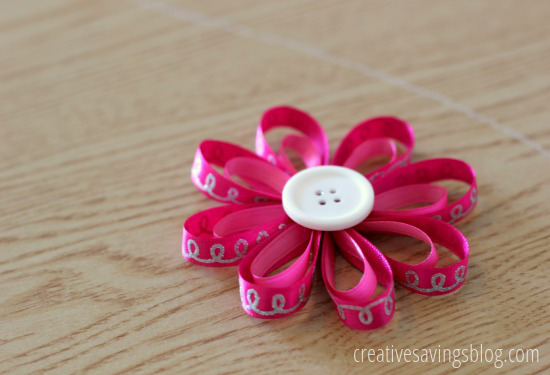
Step 6: Spend some time fluffing out the bow so it looks round in shape, like a flower. Then, choose a button from your stash, and hot glue it into the middle of the bow.
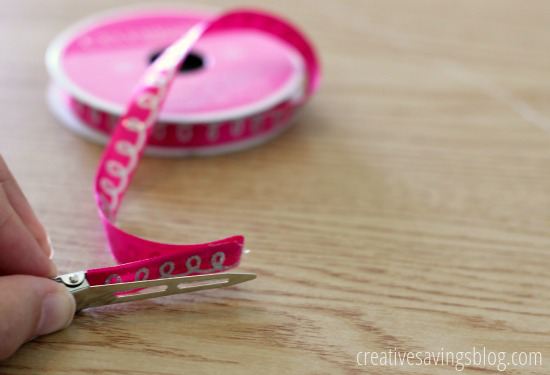
Step 7: Hot glue extra ribbon onto an alligator clip, make sure all metal is covered.
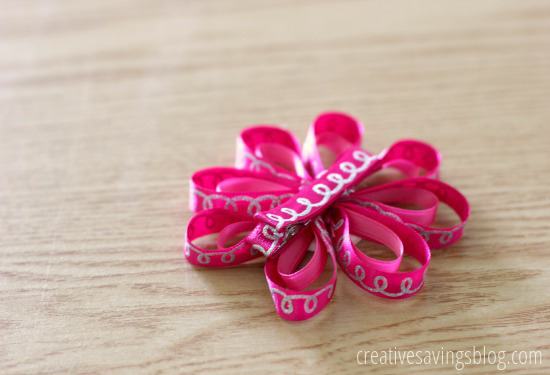
Step 8: Hot glue clip to back of the bow, and you’re done!
Aren’t they just adorable?
Total Cost: $.42 each
Alligator Clips $2.49 {Set of 6} | Other supplies I already had on hand
One thing I absolutely love about these DIY flower hair bows is how extremely versatile they are. They go well with practically any Holiday or themed event you can think of, and it’s really only as limited as the ribbon aisle in your local craft store……which if you’re anything like me, you probably already have quite the stash!
Have you ever tried making your own hair accessories?
Disclosure: Some of the links in the post above are affiliate links. This means if you click on the link and purchase the item, I will receive an affiliate commission. Regardless, I only recommend products or services I use personally and believe will add value to my readers. Read my full disclosure policy here.




I am making hair bows for a friend. She has four daughters and buying hair bows can get super expensive. So I was thrilled to find your tutorial, thank you so much for sharing.
You are most welcome, Christi! Have fun making the bows — they are super addicting once you get started!
Thank you for the very detailed instructions on how to make these! I love them! I am definitely making these to go in our Operation Christmas Child shoeboxes for later this year! (:
Perfect for OCC shoe boxes!
Ooh, these would be!
Sally’s beauty supply has a huge box of alligator clips for roughly the same price. It makes it way cheaper! 🙂
Good to know — thanks, Rebekah!
Absolutely gorgeous and simple to make