DIY Colander Planter
This post may contain affiliate links. Read my full disclosure policy here.

However, that doesn’t stop me from trying again every year, hoping that this is finally the season where my brown thumb turns green and I suddenly become a gardening pro. Working with plants truly is an art I admire — and one I only wish I had!
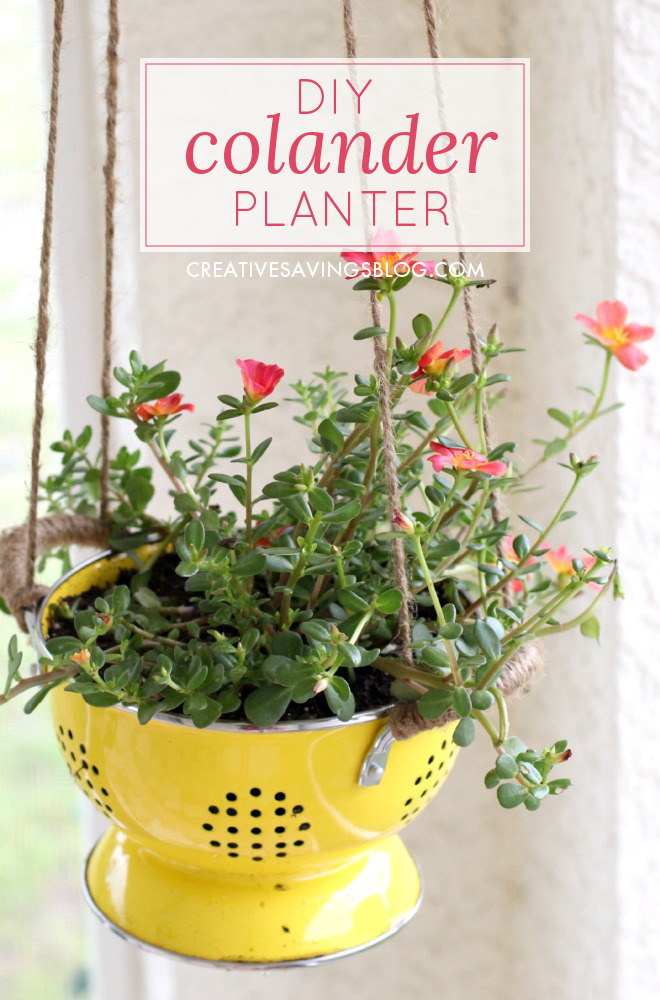
Since we have yet to buy any furniture for our lanai, I wanted to give this space a little something nice to look from our humble folding chairs and TV tray. Redneck, I know, but we’re working little by little to save up for a nice set.
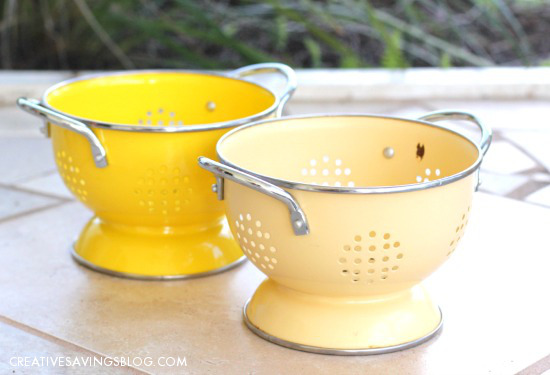
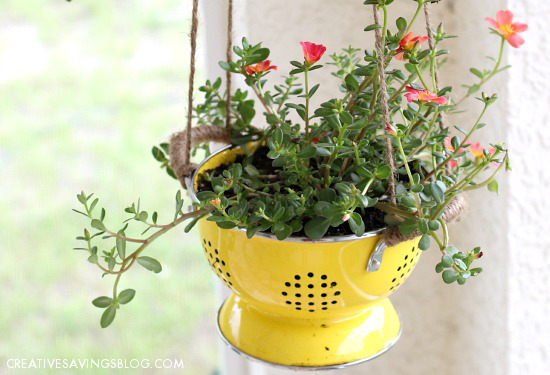
One of my pretty little colanders that I loved for rinsing small berries and veggies started chipping and rusting, and I thought I might have to throw it away until I saw Country Living’s April 2015 issue included the cutest DIY Colander Planters. Now I knew exactly what I wanted to do with it!
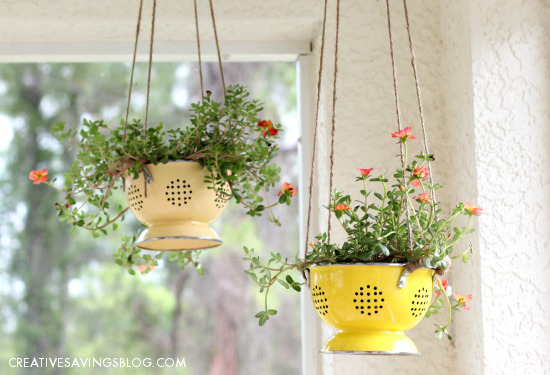
Since I had received another little colander as a housewarming gift that I hadn’t used yet, I realized it had to be fate. I finally had the perfect pair to bring a splash of color to our lanai that we can enjoy all Summer long…..IF I remember to water them, that is!
Supplies Needed:
- Old {or new} colanders
- Flowers
- Potting soil
- Landscape fabric
- Jute string
- Hooks with drywall hangers
The Project:
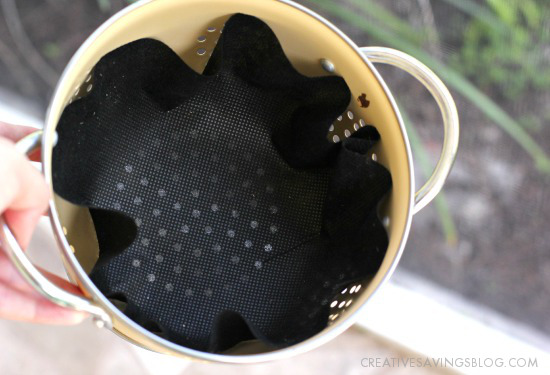
Step 1: Cut out a circle of landscape fabric to put in the colander so dirt doesn’t pop out the holes when you water it. I just eyeballed mine and did a little trimming to help it fit.
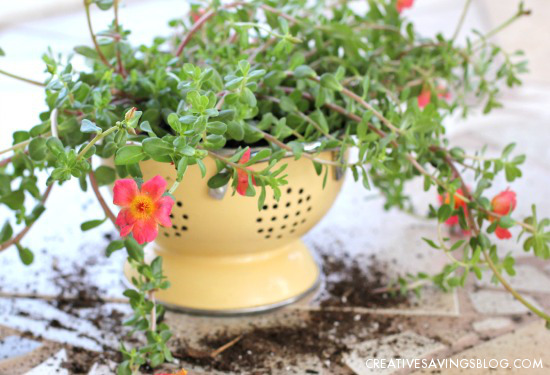
Step 2: Place flowers {I used Purslane} into colander, knocking off dirt from the bottom if it’s too tall to fit. Then sprinkle dirt inside to fill the rest of the planter. I always seem to make such a mess doing this!
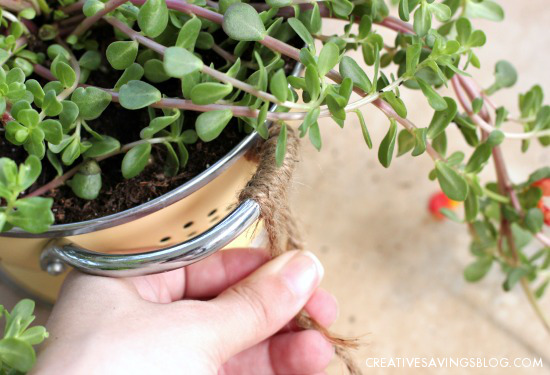
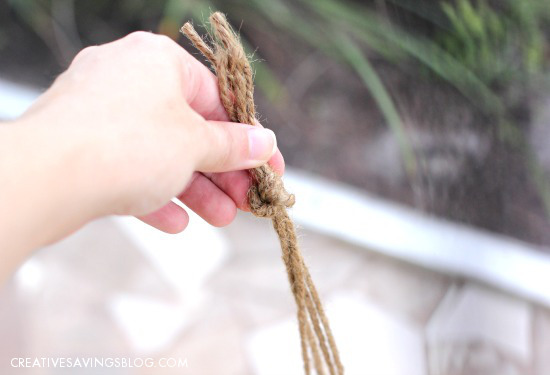
Step 3: Cut a LONG piece of Jute string to tie on one corner of the handles, wrap around handle to cover, and knot again. Leave as much excess as you want for the planter to hang, and tie a knot on the opposite corner of the other handle. Repeat wrapping on other handle, knot at the end, and if you have enough left, bring over with enough excess to knot where you first started.
Was that confusing? I got lost just writing it.
Another way to do it is to wrap your handles and tie knots at each beginning and end, then cut separate strings to knot at the handles and pull to the middle at desired height above the planter. I only did it the first way because I didn’t want there to be a ton of knots with the potential to come loose.
If needed, you can tied another knot in the string above the planter for added security.
Note: You may want to experiment and do the string part first — I found the flowers kept getting in my way when I did it last, and some of the petals broke off.
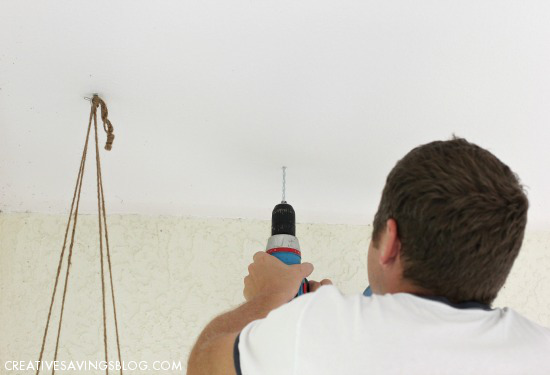
Step 4: Put hooks into the ceiling, if needed, and make sure to use drywall hangers to secure hooks that are not screwed directly into a stud. I had Joseph help with this part!
Step 5: Water plant and arrange or “fluff up” where you accidentally mangled it trying to plant, and hang for all to see!
Note: One thing I did notice is that a little dirt still came through the holes when I watered it, but not enough for me to freak out.
Step 6: Repeat steps 1-4 for as many planters as you want to make.
Total Cost: $4.17/one planter
landscape fabric $.20/ft | flowers $2.98 each | potting mix $.99 {used 1/4 of bag} | other supplies I already had
You can find very inexpensive colanders at thrift stores or flea markets, and I think they look so charming as a set. I might even have to think about adding a third someday down the road!
They would also make really cute Mother’s Day or hostess gifts since they’re not too expensive, especially if you already have supplies hanging around your garage.
On a completely separate note, how do you say “colander”? I help out in our ESL classes {English as a Second Language} at church, and we were pointing out different kitchen tools to learn their English names. The teacher, who is Canadian, says call–ond-er, and I say coal-lander, putting the emphasis on the second syllable.
Anyway, I’m sure both are right, but I’m just curious to find out how you pronounce it!
Are you a secret plant whisperer? Teach me your tricks!
How do you pronounce colander?
Disclosure: Some of the links in the post above are affiliate links. This means if you click on the link and purchase the item, I will receive an affiliate commission. Regardless, I only recommend products or services I use personally and believe will add value to my readers. Read my full disclosure policy here.

Thanks for this tutorial! What would you recommend instead of jute if hanging this outdoors? I guess not wrap the handles (although that’s super cute) and just substitute a thin chain?
And, I say CALL-ander (and I’m from New Orleans if that makes a difference 🙂
I think colander is one of those words that is very regional in pronunciation!
You could totally do a chain, you just might want to find a way to secure it to the center of the handle so the chain doesn’t slide back and forth if it get’s a little breezy.
I’m always on the hunt for small colorful colanders for this exact project. You chose a very hardy lovely plant. I discovered them last summer. Portulaca’s !! they are amazingly hardy little beauties.
Hardy is what this brown thumb needs!!! haha!
To find the correct pronunciation of a word go to on line Webster dictionary, find your word, press the speaker phone and it will sat it for you.
i bought a $3 app called waterbug where you can add your plants and what kind they are & set a schedule for watering, and it sends you reminders! it’s helped me out a ton with my little indoor plants. I’ve also gotten a lot of succulents, because the more desert-y the plant, the less it needs to be watered, so the lower the chance that I accidentally kill it. 🙂 I LOVE the colander planter idea—I’ll have to try this soon with my spider plants!
Of course they would have an app for that! Thanks for sharing — I’m going to try this and see if it helps me remember better!
Adorable! Unfortunately, I can’t keep plants alive either, but the colorful colanders might convince me to try again! Oh, and I say “CALL-an-der”. 🙂
Brown thumbs unite! Although so far, they are still alive……but for how long, I’m not quite sure. 😉
I noticed that the plants are none other than the ever present “weed” purslane! And what a glorious weed it is! All parts are edible raw or cooked,… AND …. wait for it………..
they thrive in hot, dry, sandy soil outside and inside will thrive with minimal care and whatever planting soil you have. WATCH THE WATER … they grow in hostile, dry conditions and appreciate the same indoors. If you can’t find purslane in your weeds, buy PORTULACA .. same family, double, multi-colored flowers.. same growing requirements, but not so edible…. THE MORE SUN, THE BETTER. ‘Hope this helps turn brown fingers into green.
GOOD LUCK!
OH……. PORTULACA is commonly known as MOSS ROSE, and most big box stores have both plants and seed packets.
I didn’t know that! Thank you so much!!
More than welcome, Melinda! Often times, “weeds” do better than flowers indoors. Usually the only requirement they are picky about is sun, sun, sun! And a kitchen/dining area window is fine. Many houseplants can’t take it. Dwarf Wandering/Bolivian Jew is another great little-care plant.
Luck with changing that thumb from brown to green.