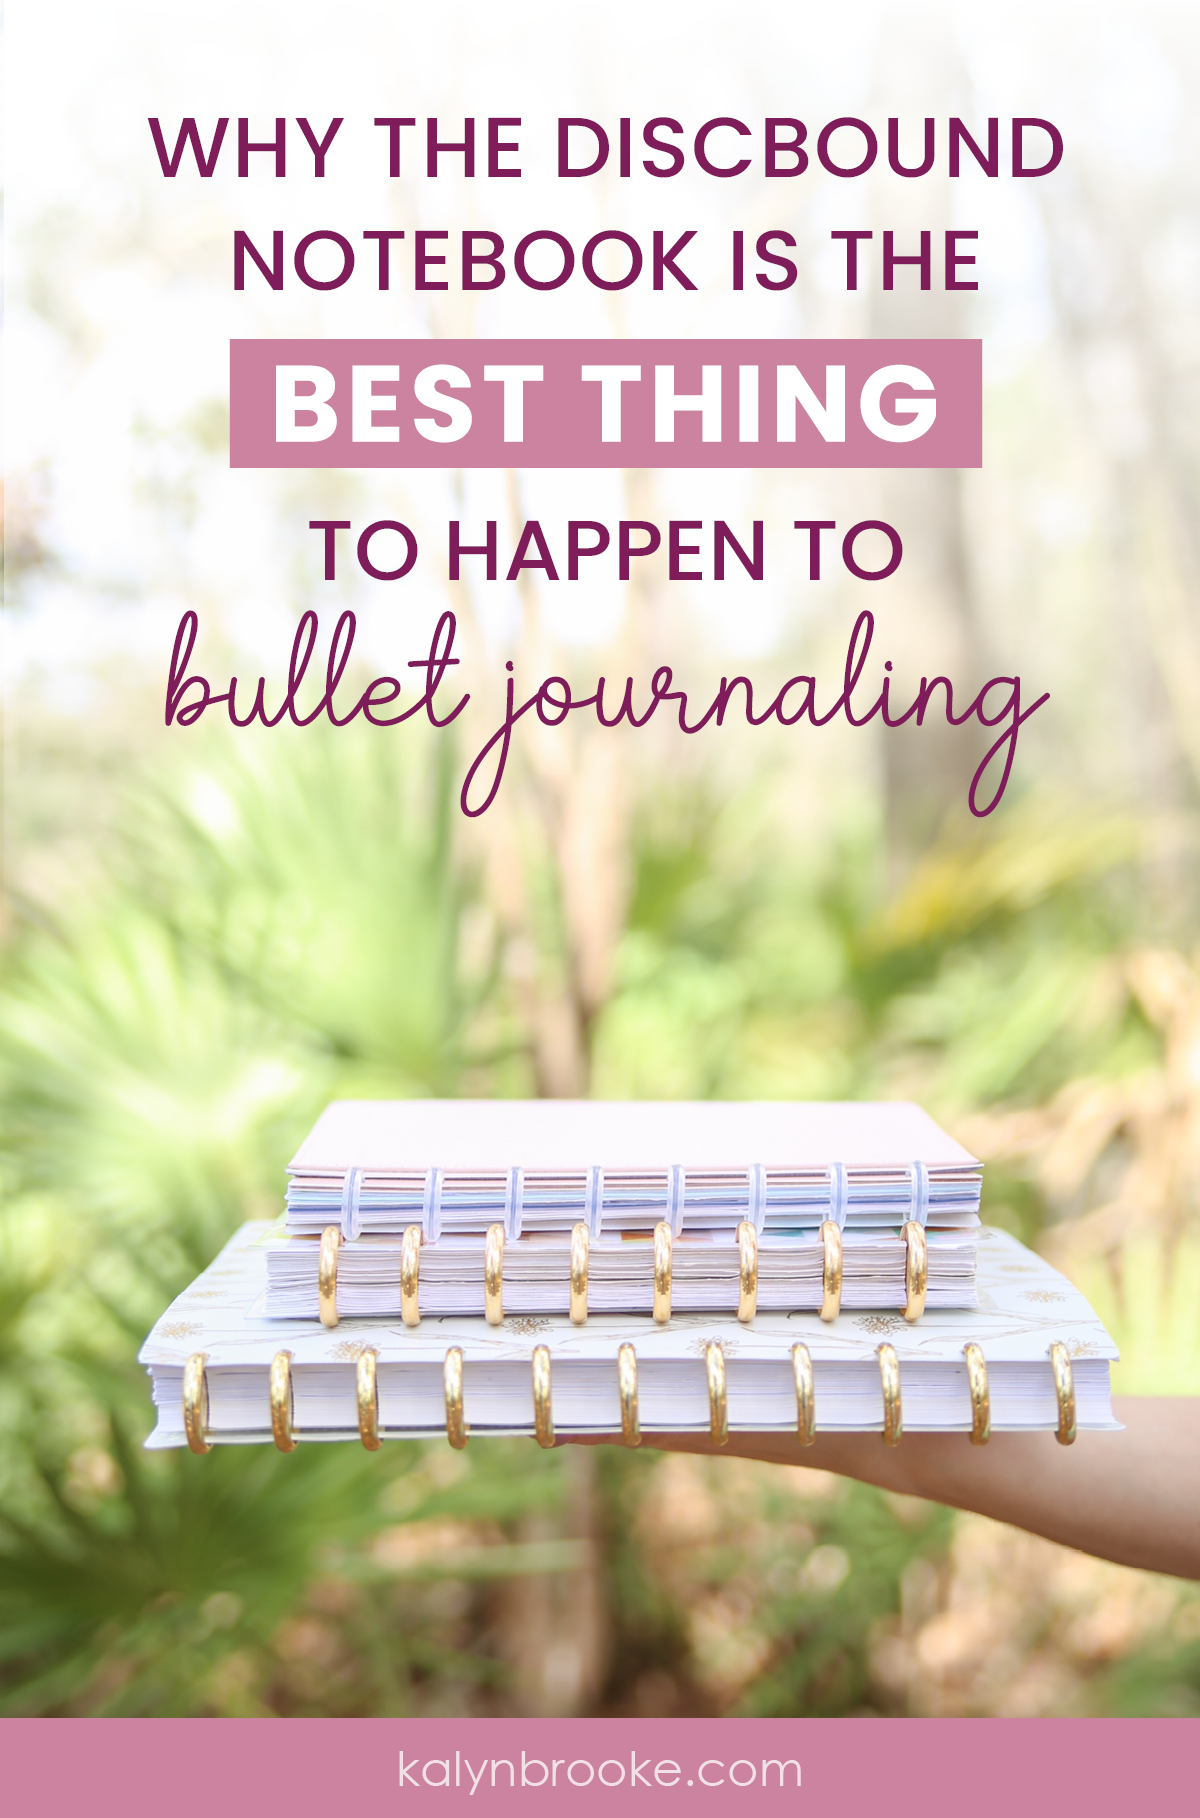
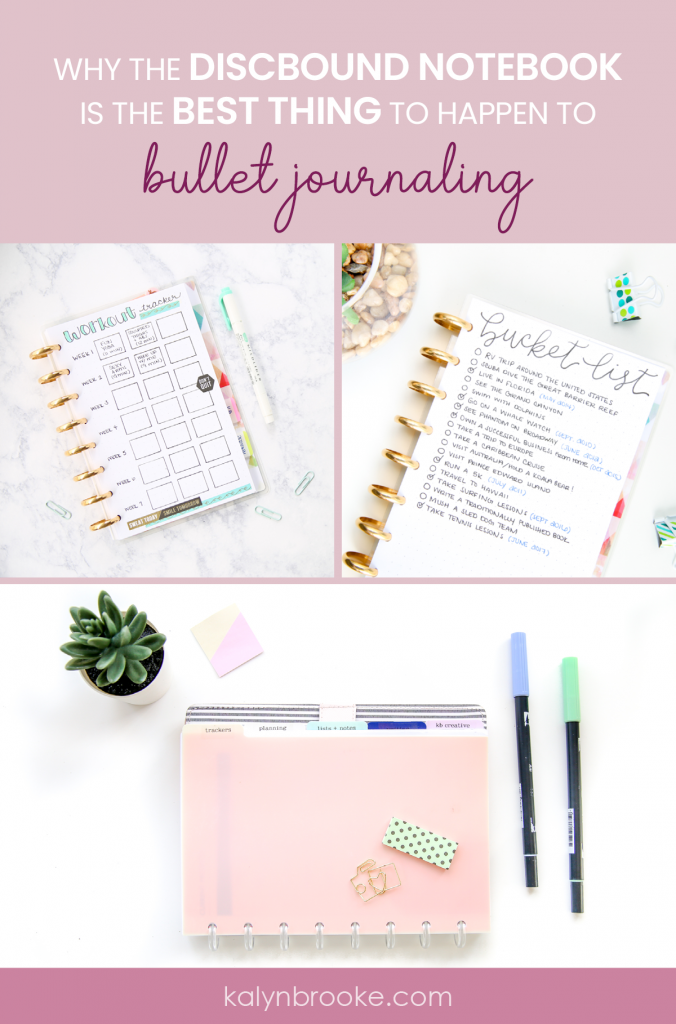
Why the Discbound Notebook is the Best Thing to Happen to Bullet Journaling
After completing four bullet journal notebooks, my planner’s heart wanted to try something different.
Don’t worry—I wasn’t going back to a regular planner! But I did want to experiment with a discbound bullet journal.
Why?
Because I would have the freedom to…
- Rearrange pages however I wished whenever I wished
- Organize my planner into sections
- Use bullet journal printables to save time drawing layouts
- Throw away pages when I messed up (as opposed to ripping a page out of a bound notebook and risk the whole notebook falling apart)
And I’m always trying to find the best way to bullet journal.
How do you use a Discbound bullet journal?
I’ve found that not many who watch me use my discbound planner really know what it is!
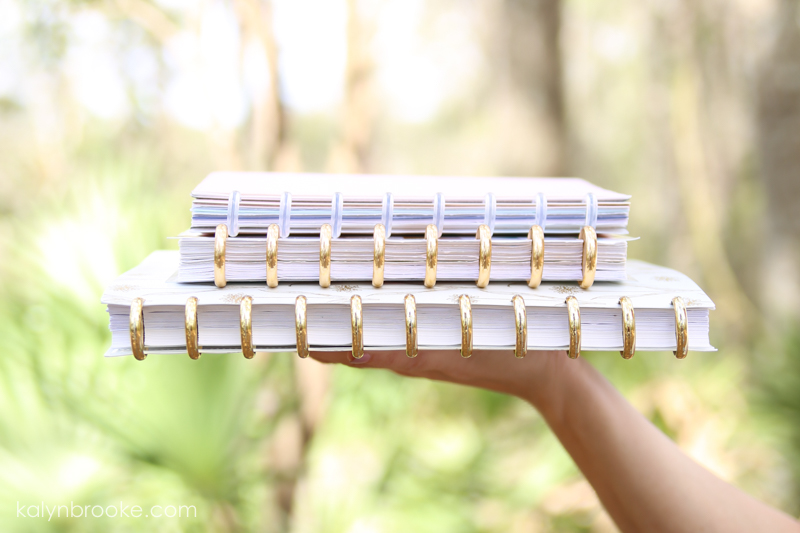
In short, this notebook contains two covers (front and back) with pages sandwiched in the middle. But the differentiating factor are the “discs” that hold everything together.
With a three-ring binder, you can’t fold the notebook back on itself. But with a discbound notebook, you can, which allows for easier writing. And you don’t have those annoying snaps of a three-ring binder either! Just pull the page off and then press it back down when you’re done.
These discs come in multiple sizes, ranging from 3/4″ (which hold 75 sheets) to 3″ (which hold 365 sheets—enough for a full year).
Pros of the Discbound Bullet Journal:
1. You’ll Save a Whole ‘Lotta Time
If you’ve ever caught yourself thinking, “I don’t want to have to draw out my layouts,” then a discbound bullet journal might work for you!
You can still bullet journal in a traditional sense (just insert blank dot grid pages into your notebook wherever you like), but you can also use pre-designed printables to save time on layouts you draw over and over again.
It’s the best of both worlds.
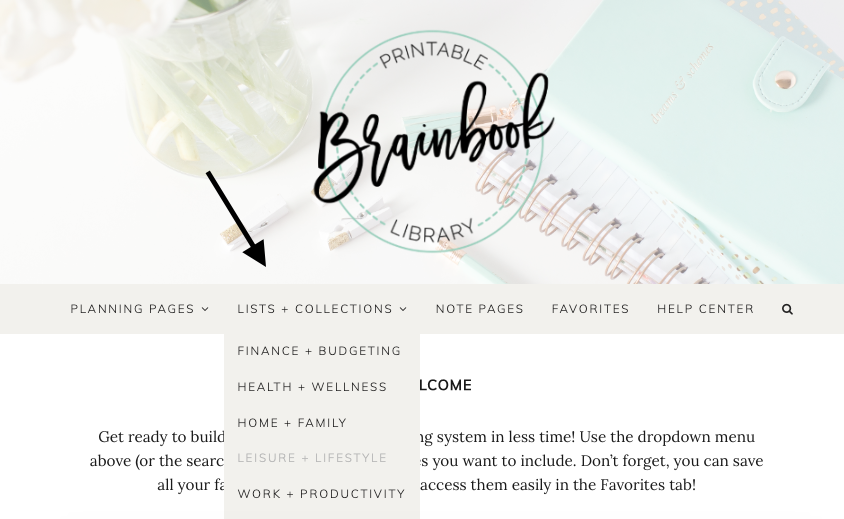
For those who take this route, you’ll want to snag a Brainbook Printable Library membership (which gives you access to 100+ bullet journal printables plus a new one every Tuesday). This membership is much cheaper than buying separate $3-$5 pages on Etsy. You can easily try new layouts when you get bored!
2. You Have the Freedom to Customize
A discbound planner is a perfectionist’s bullet journaling dream come true. You can easily add, remove, and rearrange pages however you wish.
If you make a mistake even washi tape won’t fix, you can just pull out the page and start over on a new one. I love that!
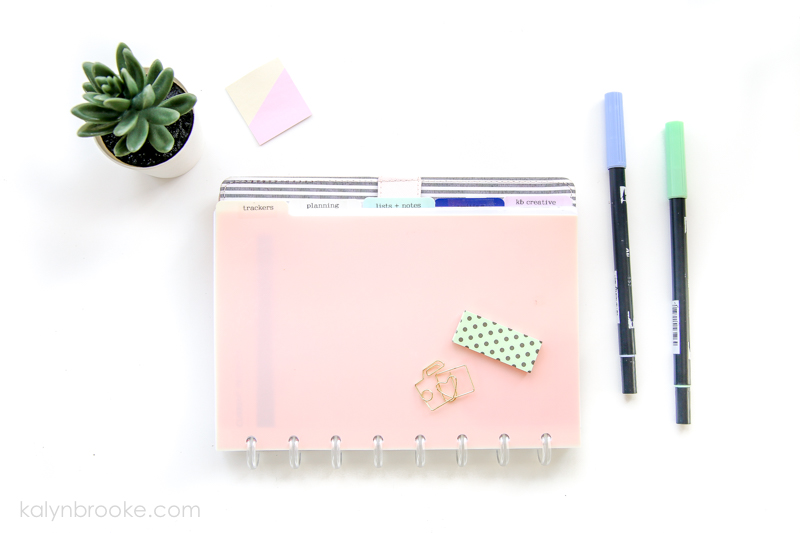
You can also buy discbound dividers and organize your planner by sections—Trackers, Daily Planning, Lists & Notes, Work, etc.—which may be easier on your brain then the way you bullet journal in a bound notebook (by flipping to the next page).
3. It’s Easier to Maintain Evergreen Collections
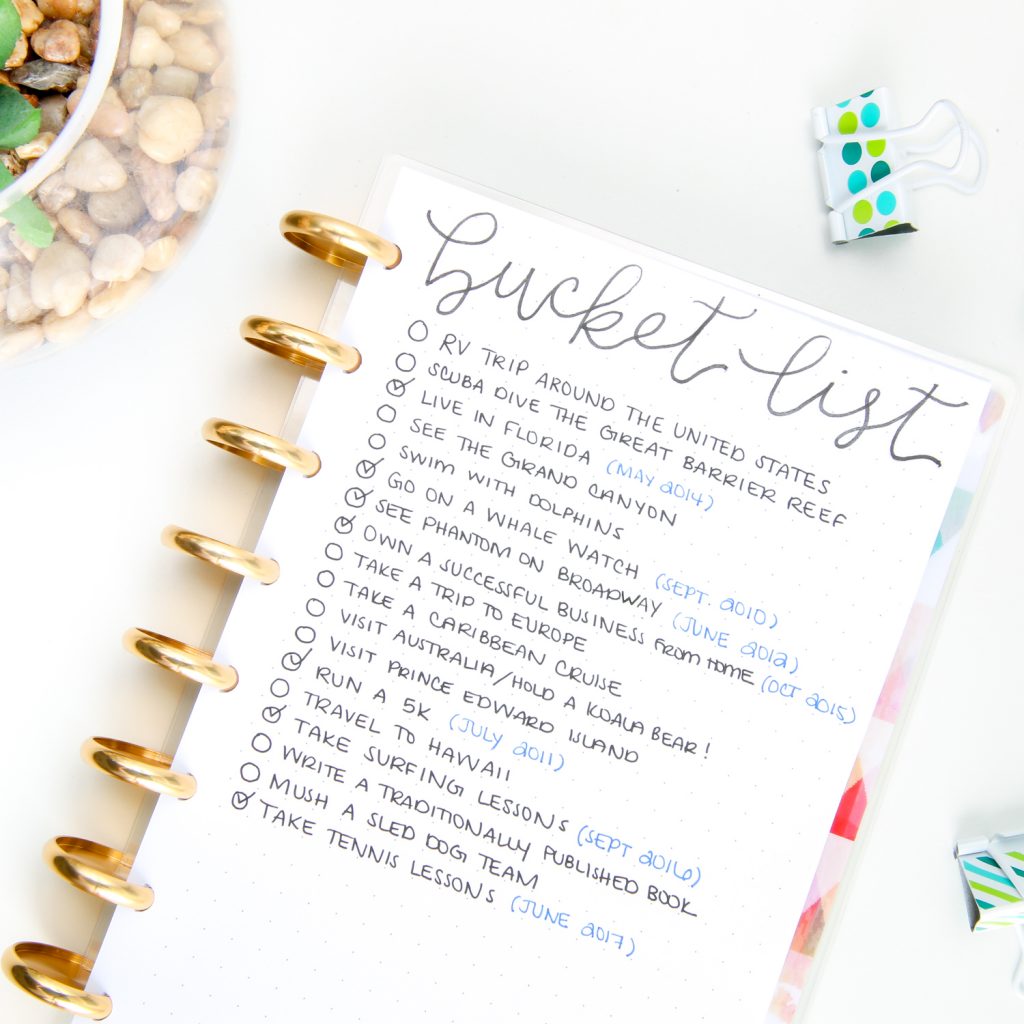
Whenever I migrated from one notebook into another, I always had to migrate collections (which is just a fancy way of saying notes and lists) that I wanted to reference in my current notebook.
Now I draw (or print with a membership) these collections once and keep them in the same discbound notebook! Lifesaver!
Cons of the Discbound Bullet Journal
1. You’ll Make an Investment Upfront
A Discbound bullet journal can be a little pricey up-front to put together, because you have to buy the notebook, paper, and a special punch. But then you don’t ever have to buy another notebook, just the refill paper (if you don’t want to make your own with a punch!).
2. Endless Options Can Be Overwhelming
Because you can arrange and rearrange pages, you could get overwhelmed with how you want your discbound bullet journal to function. I spent a lot of time overthinking how I wanted to organize each section as well as how to print my bullet journal printables without leaving the backsides blank.
3. Wear and Tear is a Real Concern
Almost everyone who writes about their discbound bullet journal claims the pages don’t ever rip or fall out. I wish people would be honest! Because if you’re flipping a page or pulling it in and out multiple times, that page is bound to show wear.
So I use this hack if I want a collection to have staying power: I add washi tape to the edge before I punch the page. It strengthens the paper just enough so it’s easier to turn on the discs and won’t cause issues.
4. The Discs Might Annoy You
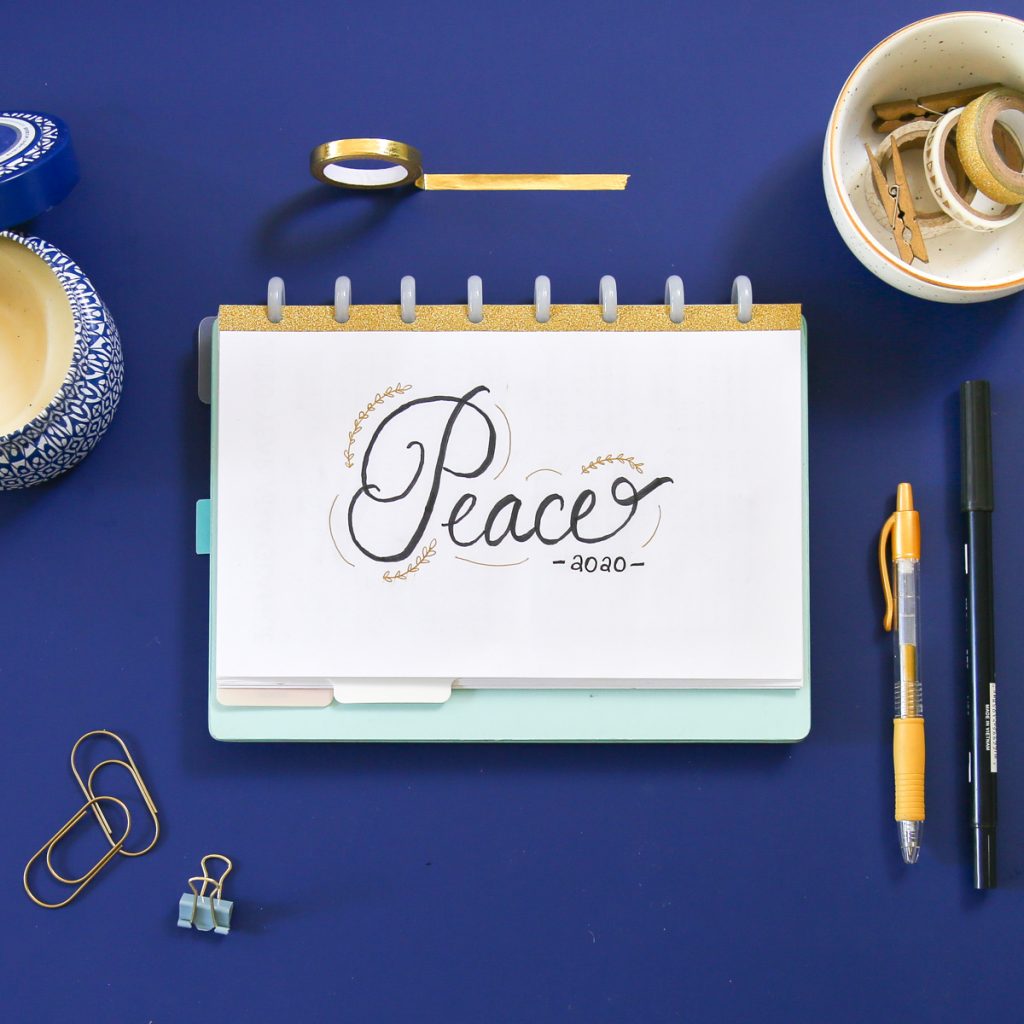
Speaking of discs, I love that you can turn a discbound notebook back on itself to write more freely. But sometimes, your hand will get caught on the disc and it will be harder to write.
To avoid this, you can pull out the page to write on it first, then add it back to your notebook. But remember what we just talked about—pulling out a page too many times will eventually weaken the paper. So do this sparingly!
Supplies You Need to Get Started
So are you ready to give a discbound bullet journal a shot? One user said this is the best decision they’ve made in their bullet journaling journey—it might be yours too!
Here’s what you need to buy:
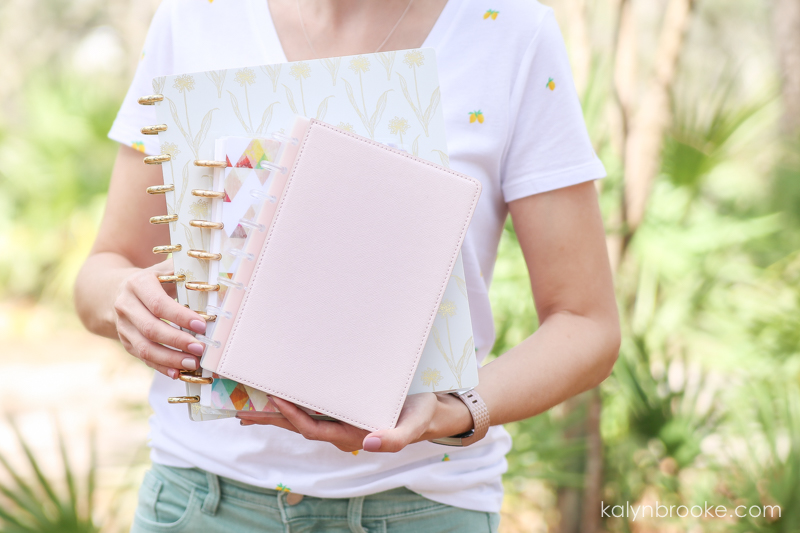
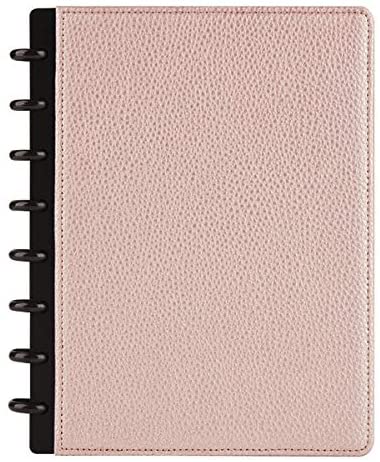
- Discbound Notebook – For a budget-friendly option, I recommend TUL. If you want to splurge, Levenger does not disappoint. I started with TUL and then upgraded to Levenger. Both companies offer notebooks in Letter or Half Letter (Junior) sizes. The Happy Planner (Classic) size falls in between the two.
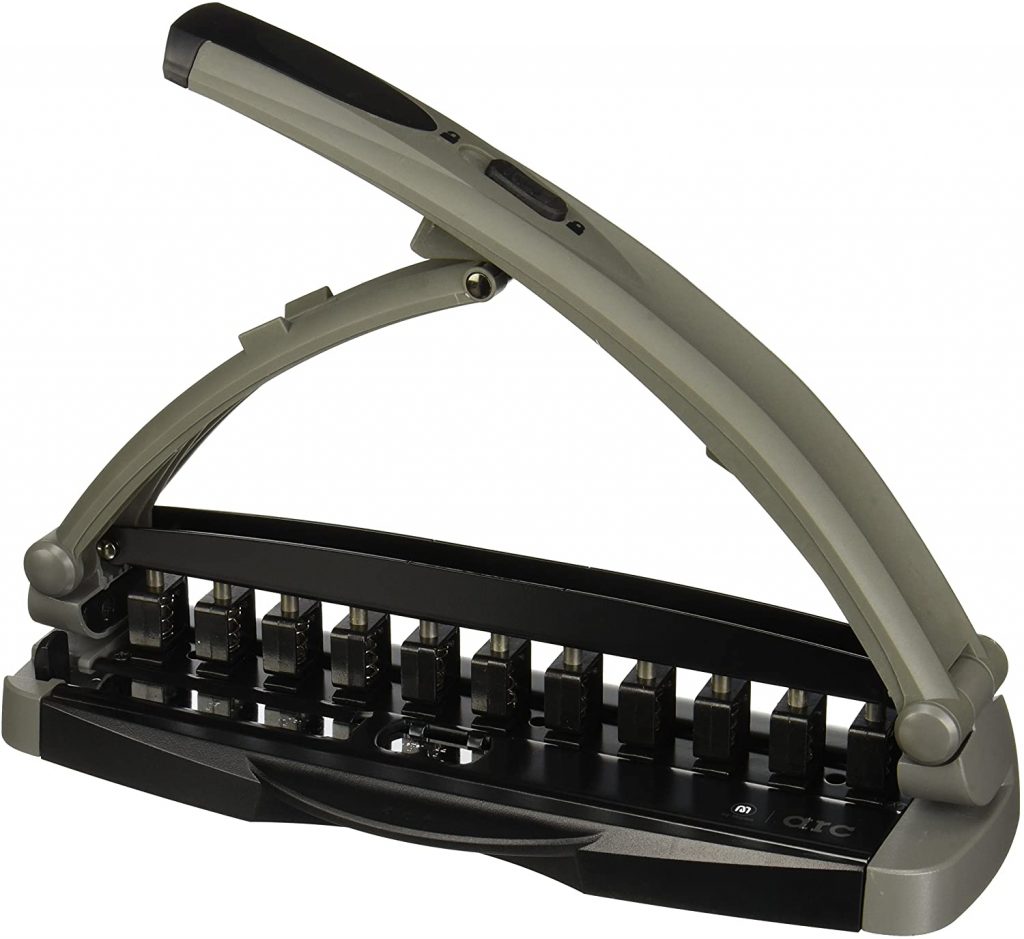
- Disc Punch – The ARC punch is pricey, but will punch any size paper you wish! It’s much better quality than other punches I’ve seen.
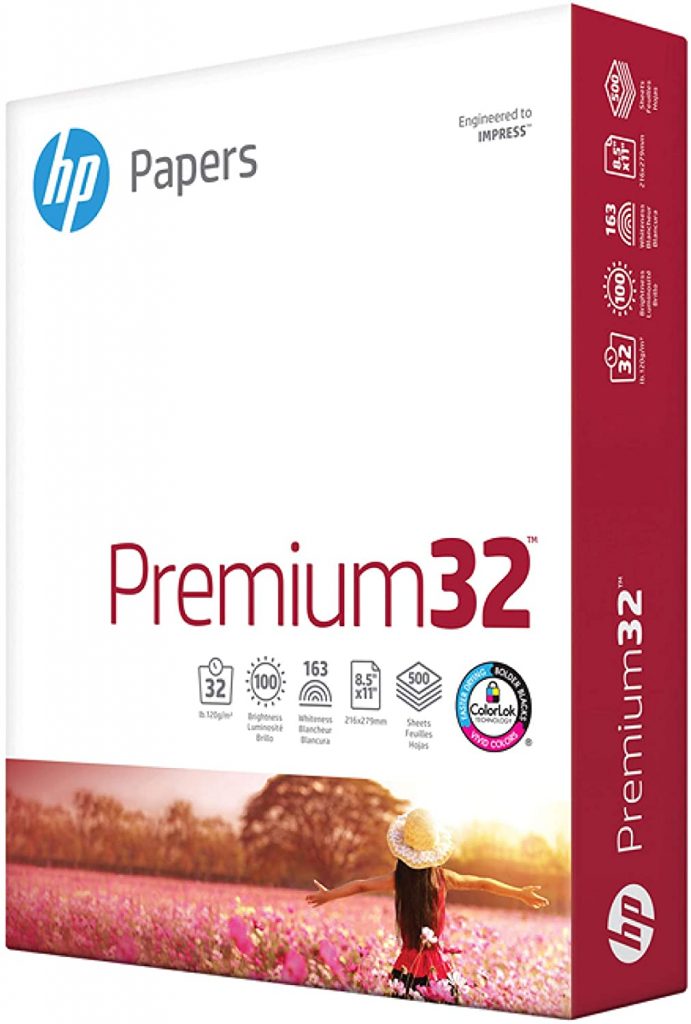
- Heavier Paper – If you’re printing your own layouts, regular paper won’t survive the discs, but card stock is much too thick. The sweet spot is this 32lb Paper by HP.
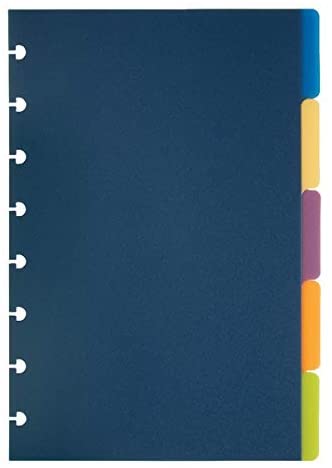
- Dividers (Optional) – If you want to divide your notebook into sections, these plastic dividers do the trick.
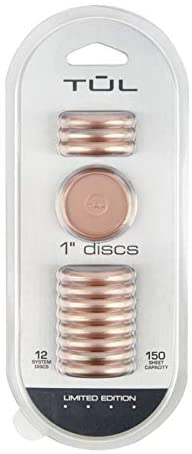
- Bigger Discs (Optional) – Most notebooks come with 3/4″ discs. But if you want to fit more pages into your notebook, you’ll need bigger discs. I really like the 1″ size.
Finally. A Planner Made Just for You.
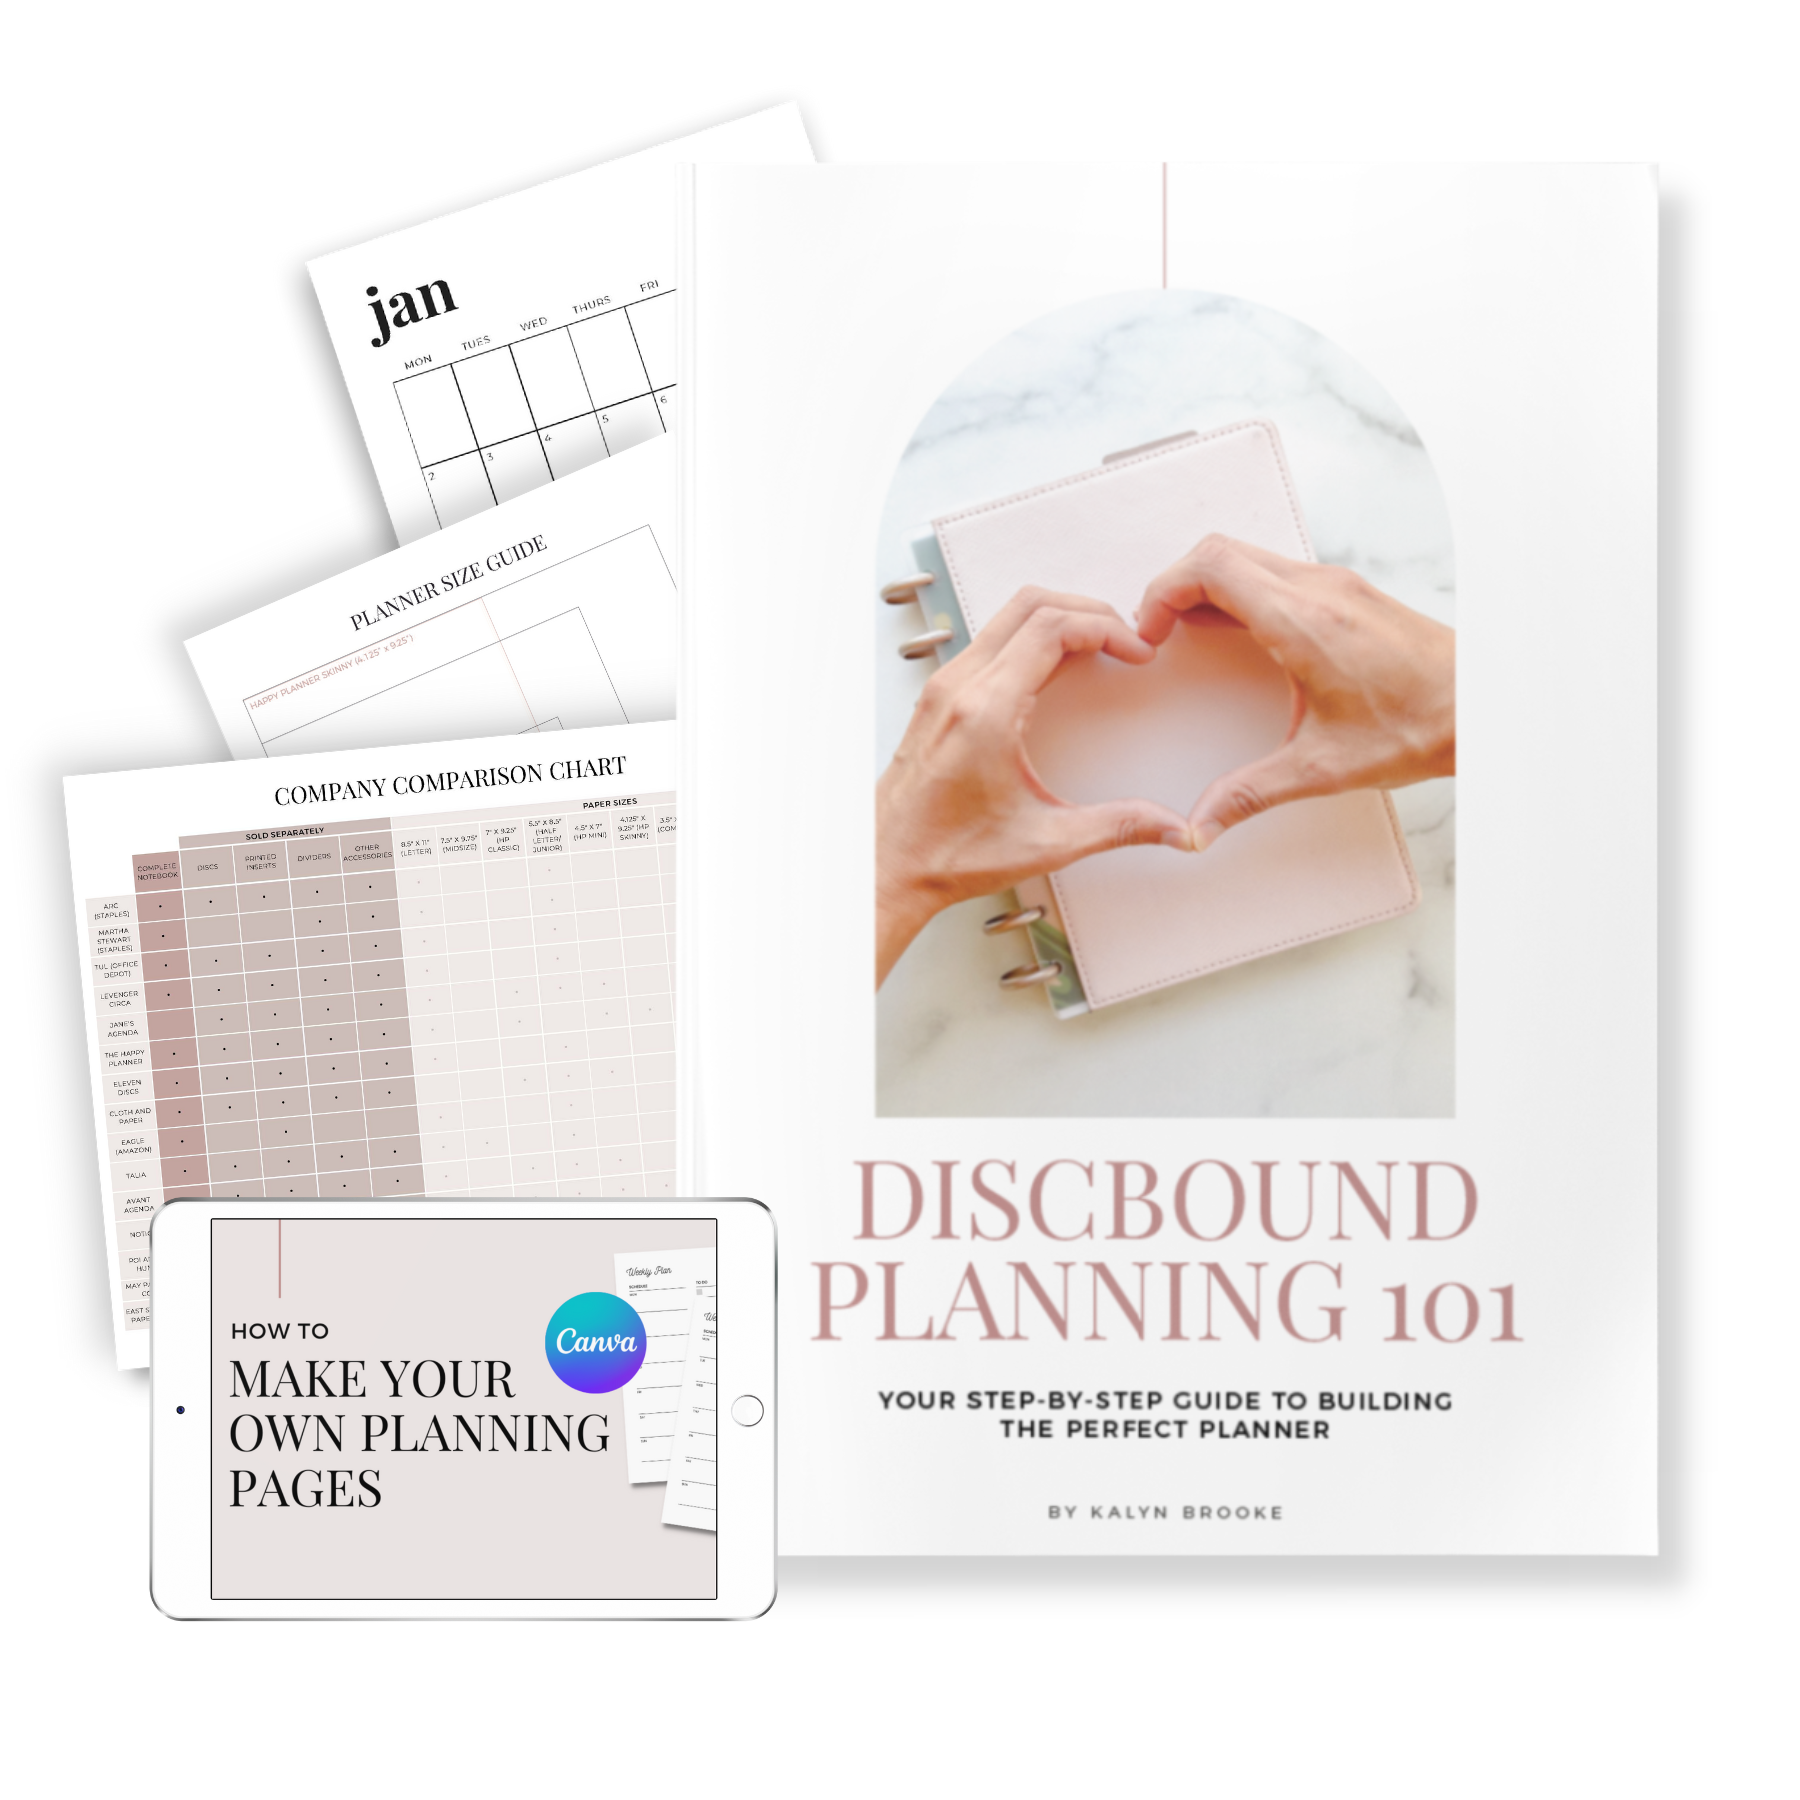
Create and customize the planner you wish existed using a simple yet powerful discbound notebook (with no unused pages!). This all-in-one bundle includes step-by-step instructions, planner cheat sheets, and an exclusive tutorial on how to make your own planner pages in Canva.
So Did I Stick With Discbound Bullet Journaling?
Kind of.
I used the discbound system for a good six months before craving the feeling of a bound notebook again. There’s just something permanent about regular notebooks that I love, including the ease of flipping to the next page when I need to create a new planning layout or collection.
But after a while, I wanted to go back to the discbound notebook.
Yep, it’s true!
I’ve probably done this about three times so far. I used to get upset about it. I’d scold myself, Why can’t you just stick with something instead of changing it up all the time?
But you know what? I love trying new things. To me, the discbound system feels new and exciting and serves me through especially busy seasons. Printing and inserting any layout I could ever want makes it much easier to plan ahead.
When I’m craving a change, though, I’ll go back to a regular notebook for daily planning again. At that point, my discbound will serve as a reference notebook for long-term collections.
In the end, it doesn’t matter how you bullet journal—traditional notebook or a discbound one. No system is completley perfect and our daily lives change too much for one planner to stay the same!
So give yourself permission to experiment. You may fall in love with the discbound system forever or it may serve you well for a short time. Both are 100% okay.
Are you thinking of making the switch?
What about discbound bullet journaling speaks the most to you?
Pin this post to reference later:
Disclosure: Some of the links in the post above are affiliate links. This means if you click on the link and purchase the item, I will receive an affiliate commission. Regardless, I only recommend products or services I use personally and believe will add value to my readers. Read my full disclosure policy here.

You know I am a fan…lol!
I’m sorry it took you this long to find discbound, my friend! Welcome! I have loved this berry basic system since long before the “happy” version of it. Even before the TUL version of it. I’m just glad I stumbled upon it in any version. These days I make custom versions of covers, but I wish to remain anonymous so we to preserve the integrity of my post. Ok terms of versatility, flexibility, and creativity, NOTHING topics discbound. Thanks for your tips as to how to make that a seamless and painless part of journaling (with our without the bullets!).
This post really resonates with me!! Thanks so much for sharing! It is definitely something I’d like to try in the future, but I need to mull over it a little more to think of how it would work for me. I am curious, what do you do with used inserts/pages? Do you keep the same “bones” of the planner, or do you file away the whole planner and start a new one each year?
Hi Rosa! I remove all time-sensitive inserts that I don’t need anymore and place them into an archive notebook. This usually includes everything related to last month’s planning and notes I’m done referencing. I keep a different archive for each year in case I want to reference it again! I actually just talked about this on my Instagram stories the other day. You can listen here: https://www.instagram.com/stories/highlights/17915691992318706/ (You’ll have to tap through some older slides first though!)
Speaking only for myself, I place archived pages onto old discs and in oops covers. I’ve been using discbound for awhile, so I have had oodles of plastic discs. Now, because I have switched to metal discs, I still have extra discs that I’m not using, or that are smaller than what I’m currently using. And I can guarantee you can find an affordable extra cover on Amazon or Etsy.
Do you still use a discbound? I just saw in another blog where you said you went back to a traditional notebook – or was that an old blog?
I am using a traditional notebook at the moment, but I like to change it up so I will probably use a discbound again at some point!
I plan on using your two-page weekly spread. Is there a way to print and duplex these pages to reduce the # of pages I have in my planner?
Yes, you should be able to do that in your printer settings! If you don’t have that capability, you can always print on one side, then flip it over and put it in the printer again to print on the other side.
Helllo, I was trying to find the “Video” the person above refrenced. Can you help and send me
a link or where to find it? I really am interested but need to see it and how it works.
Thank you,
Thanks for your interest, Trish! Here’s the link.
I absolutely loved the video. Thanks for sharing. I’m now going to have to try a discbound bullet journal.
I’m so glad you liked it! Let me know how it goes.